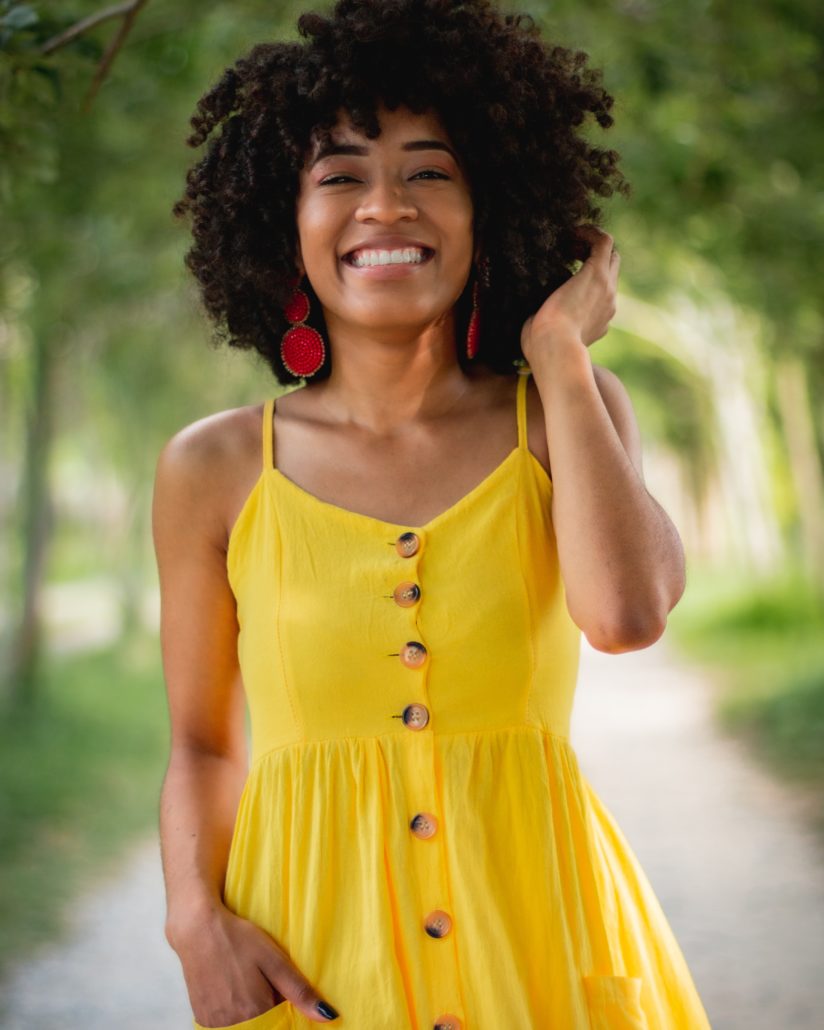
‘Quick Selection tool‘ and ‘Select and Mask‘ is basic for cut the model’s hair naturally.
In this above movie, We can change the background of the model by using this skills.
Choose the model’s layer
Choose Quick selection tool in the left tool box
Select the hair of the model roughly by Quick Selection tool
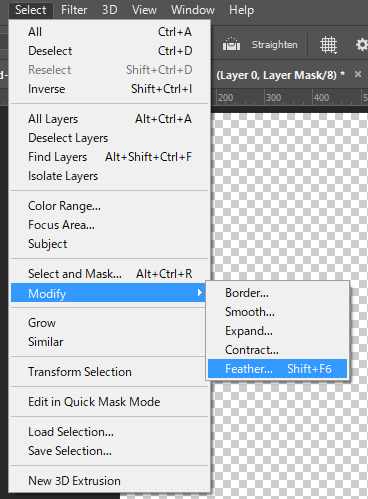
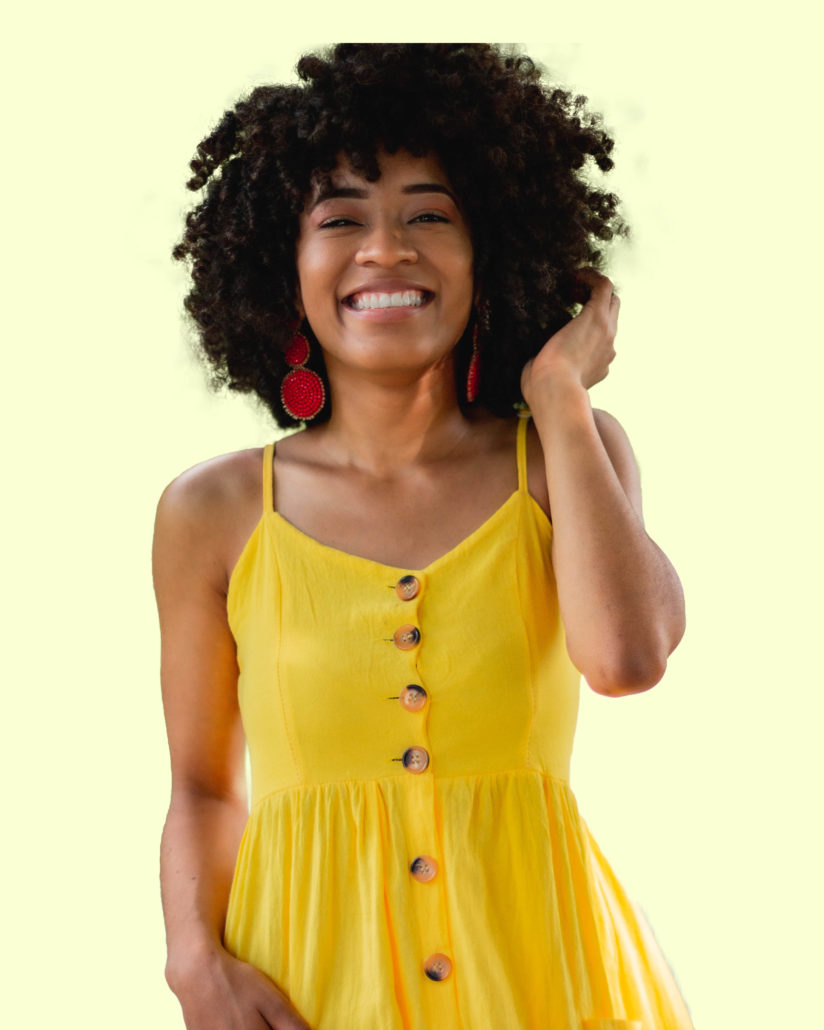
Go to ‘Select ‘ and ‘Select and Mask‘
You will get the specific window of Select and Mask. Choose ‘Refine Edge Brush tool‘ in the left column and move the brush along with the edge of hair.
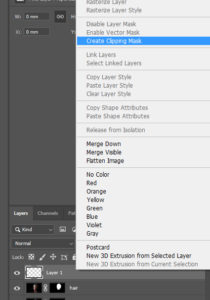
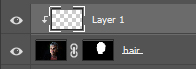
Choose ‘New layer with Layer Mask‘ for ‘outout to’ selection.
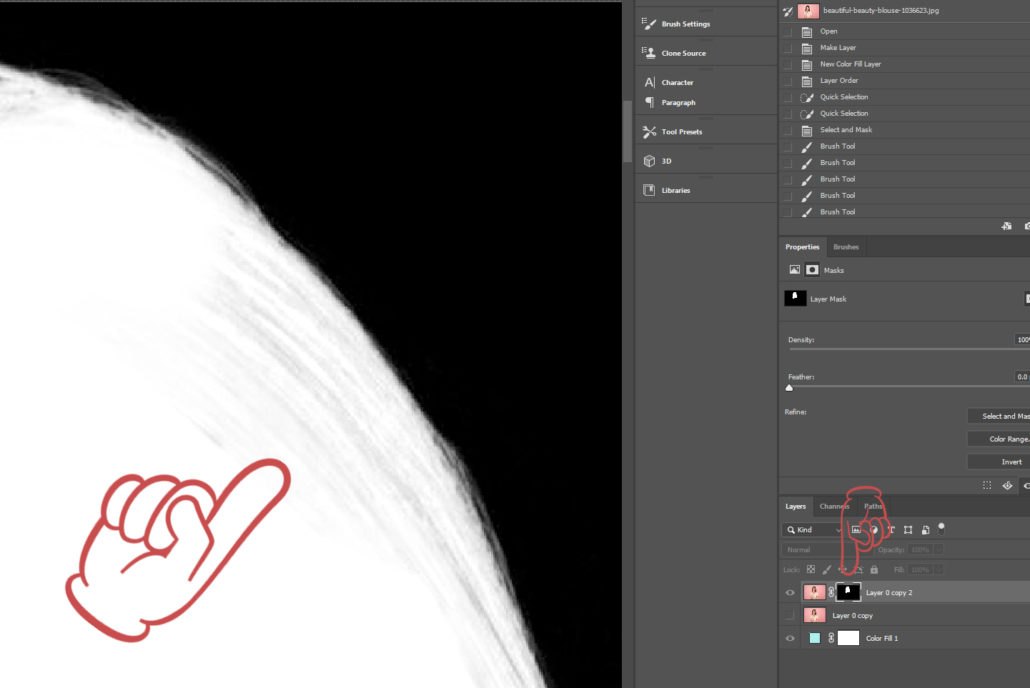
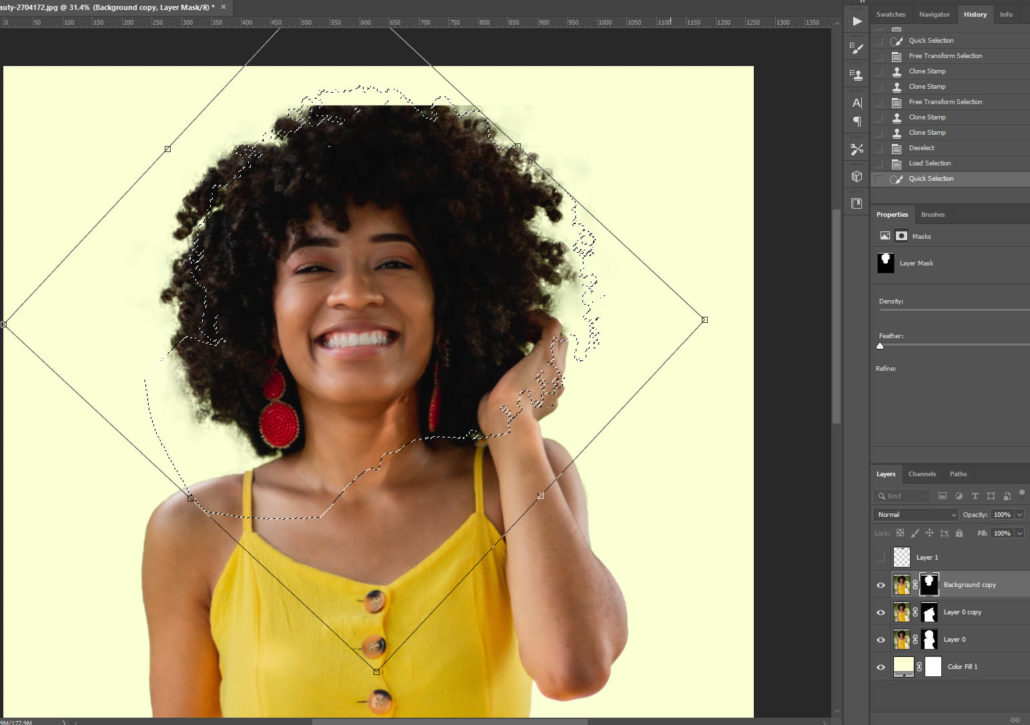
Until now, almost good but there are some problems. See the below image. This is a part of her hair. We can see some background blue color in her brown hair.
This is because the selection is not perfect. Choose the layer mask of the model’s layer and click and push Alt key at the same time. We can see the black and white image of the layer mask. Black means no information and White means the information.Black part has no information, so we can see the background from here.
If the contrast between hair and the background is strong, cutting out hair is easy. Just use ‘Quick selection tool’ and ‘Select and Mask’ like this page.
But the typical image between hair and background is more vague.
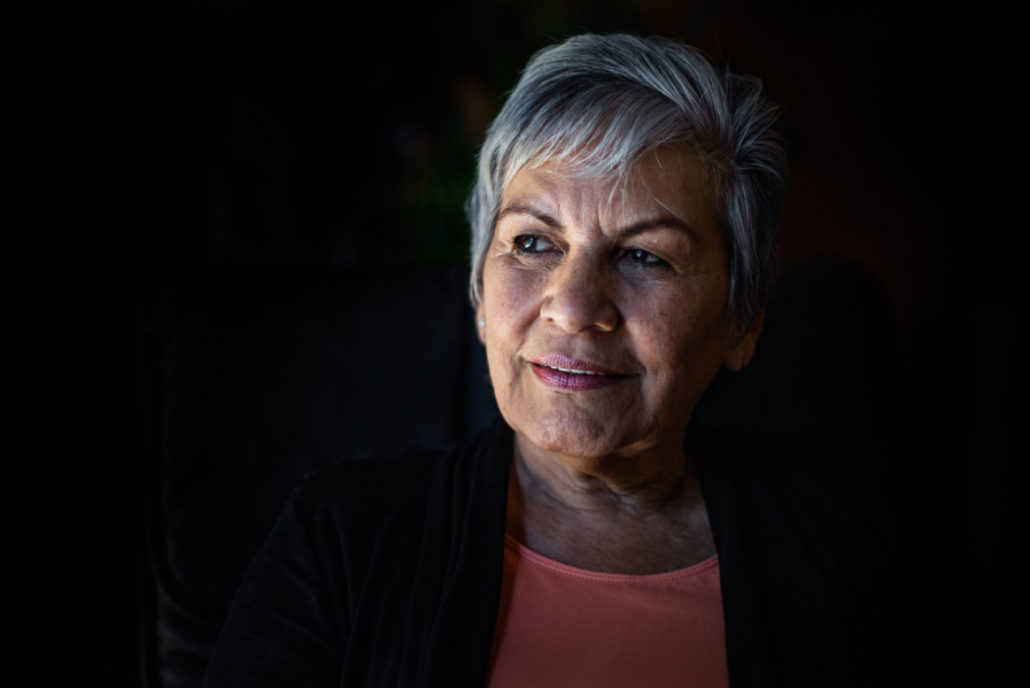
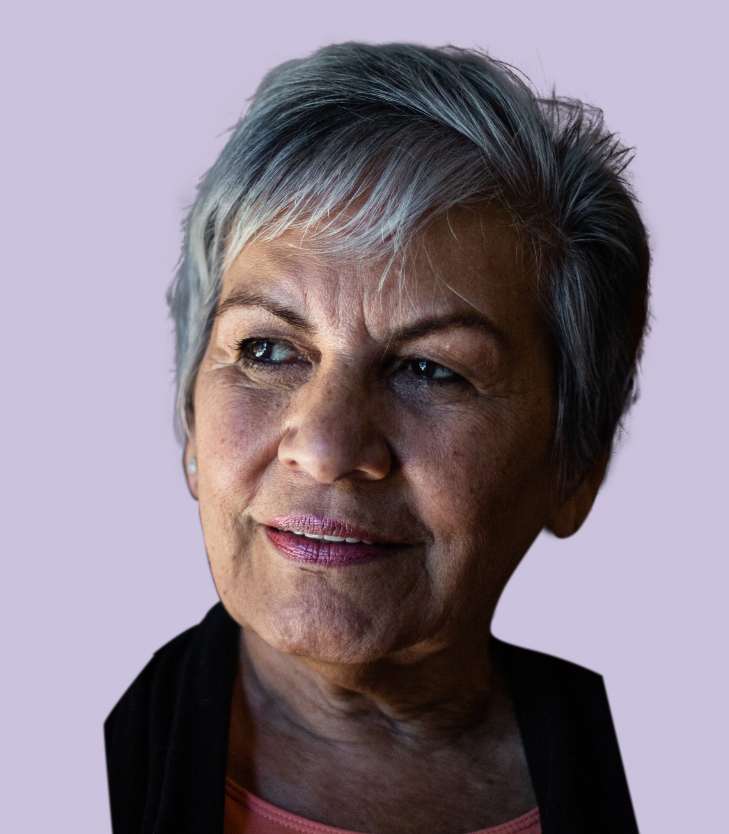
How about this image?
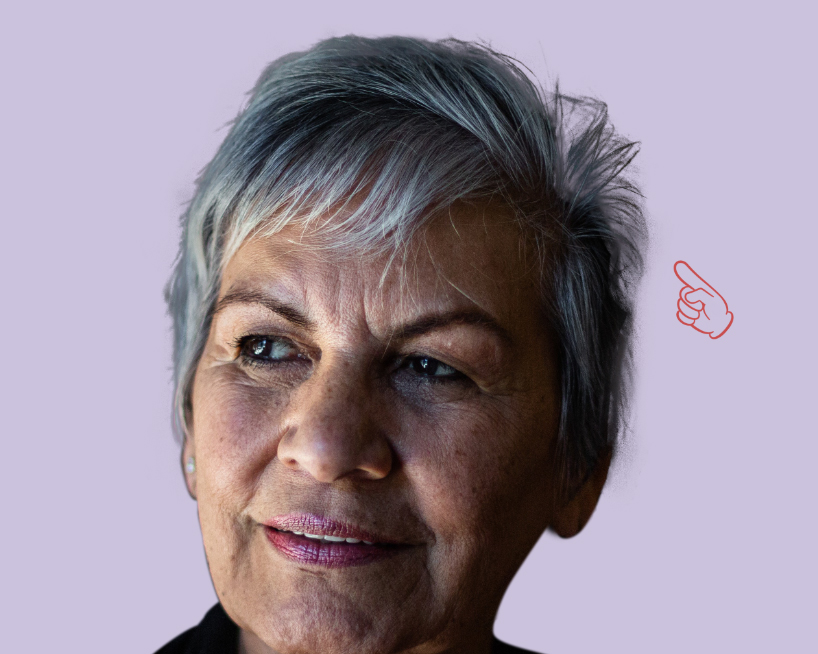
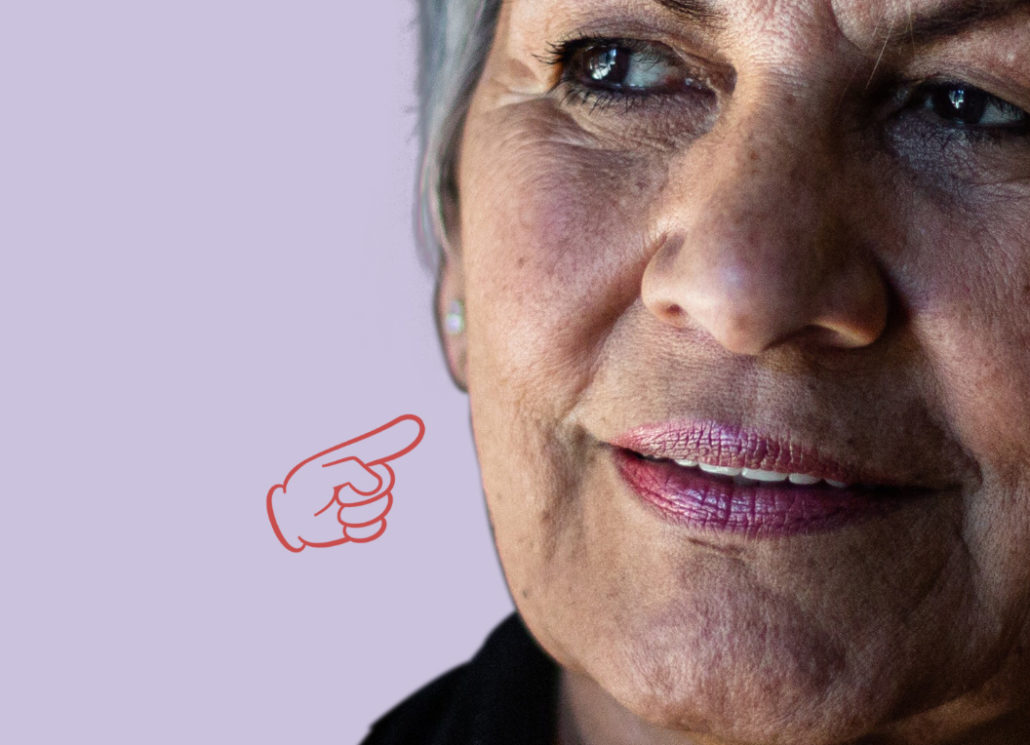
This old woman’s right side hair is difficult to see. If you try cut out her hair by ‘Quick Selection tool’, you will get the image like below.
Look at the image above. The right side hair is apparently bad. So what should we do?
One way is using other parts of hair instead. In this case, use the left side of her hair that is more clear for the right side.
I explain step by step.
At first, create the selection of her hair by clicking the layer mask with ‘Ctrl’ .
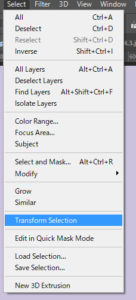
Go to ‘Select’ and choose ‘Transform Selection’
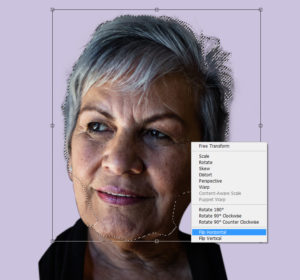
Now you got the selection of her hair. And you can transform this selection freely. For example, choose ‘Flip Horizontal’.
You can move the selection. Then choose ‘White brush’, and ‘Pint’ inside the selection.If you mimic this process several times, you will get better image like below.