Set the canvas sizes

One of the first task is setting canvas sizes. If you have  several pre-set canvas sizes, you don’t need waste your time to set a new canvas size every time.

How can you set the canvas size ? It is easy.
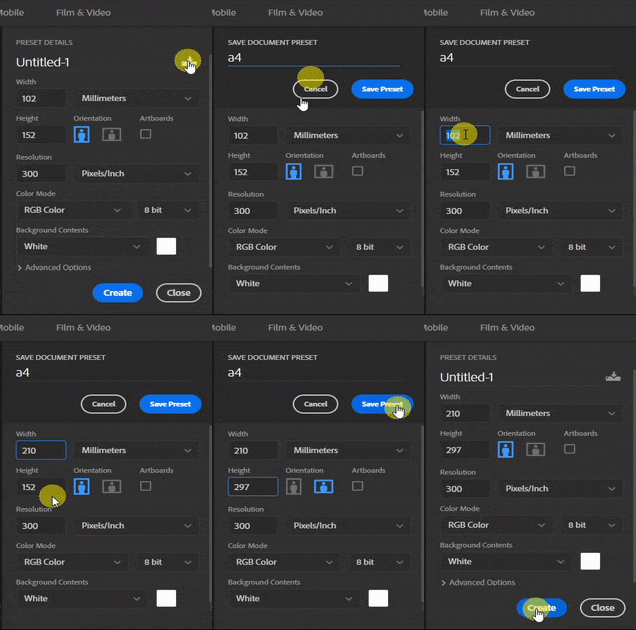
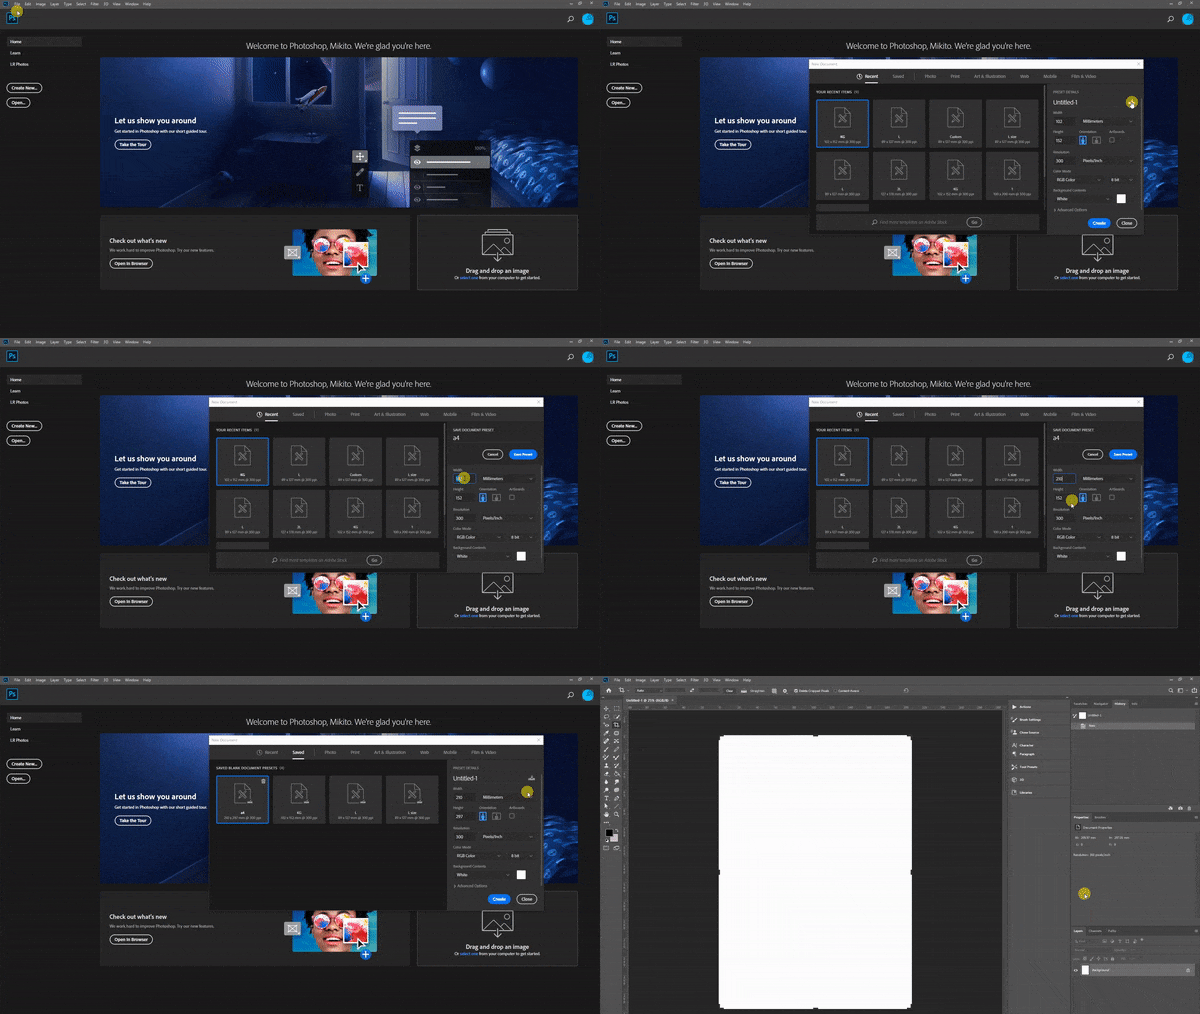
  1.  Go to ‘File’ and choose ‘New’
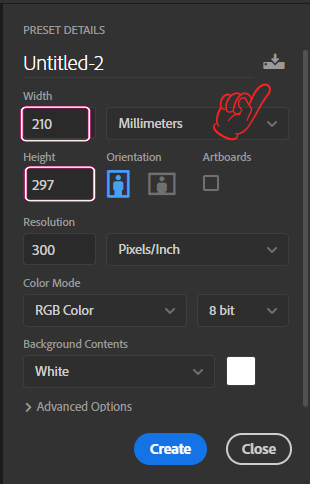
  2. You get the popup of  ‘New document’. Then click the icon  of upper right side
  3. Write the name of canvas, width and height.  You do not need to touch other sections.( The resolution is 300 pixel/inch, RGB 8 bit etc)
  4. Click ‘Save’

Sizes of Canvas for photos in Japan are as follows:

  • L  89*127mm
  • Square 89*89mm
  • D-KG 102*135 mm
  • KG 102*152mm
  • 2L 127*178mm
  • 6   203*254mm
  • A4  210*297mm
  • 4   254*305mm
  • 4W  254*365mm
  • A3   305*420mm

You ‘d better set all canvas sizes above before you start your jobs
Useful Shortcuts

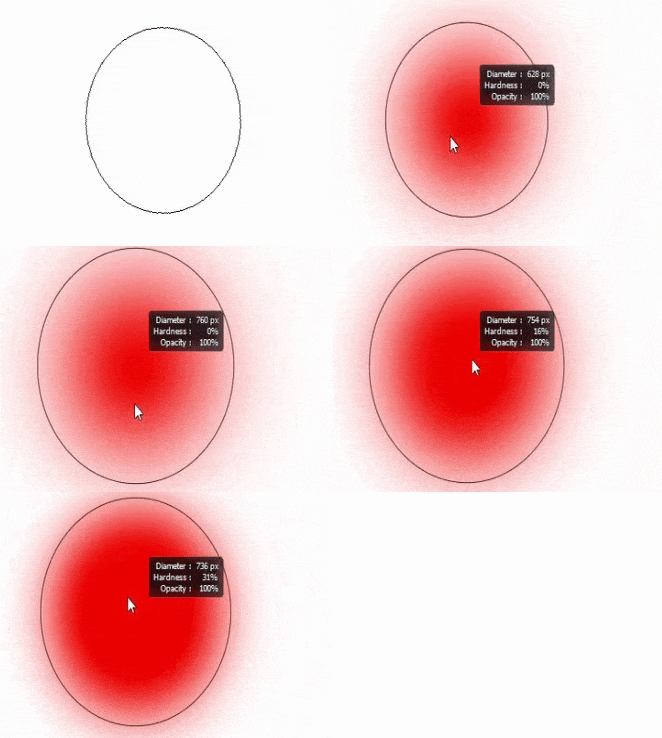
Brush Size & Hardness ; [Alt] + Right Click

If you drag right and left,you can change the size of brush. If you drag up and down, you can change the hardness of brush. 

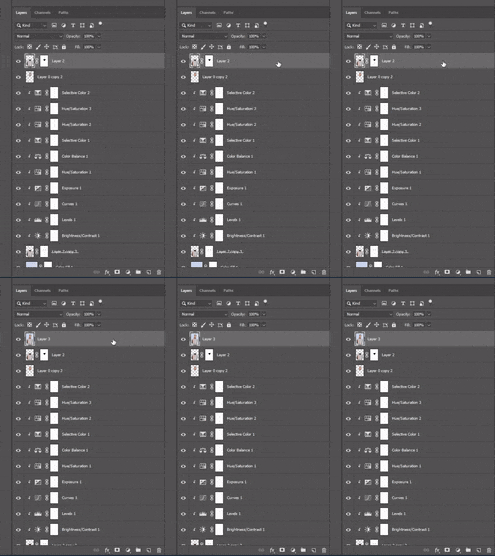
Merge All Visible Layers to a New Layer; [Ctrl] + [Alt] + [Shift] + [ E ]

You can merge all visible parts as a new layer by this shortcut.

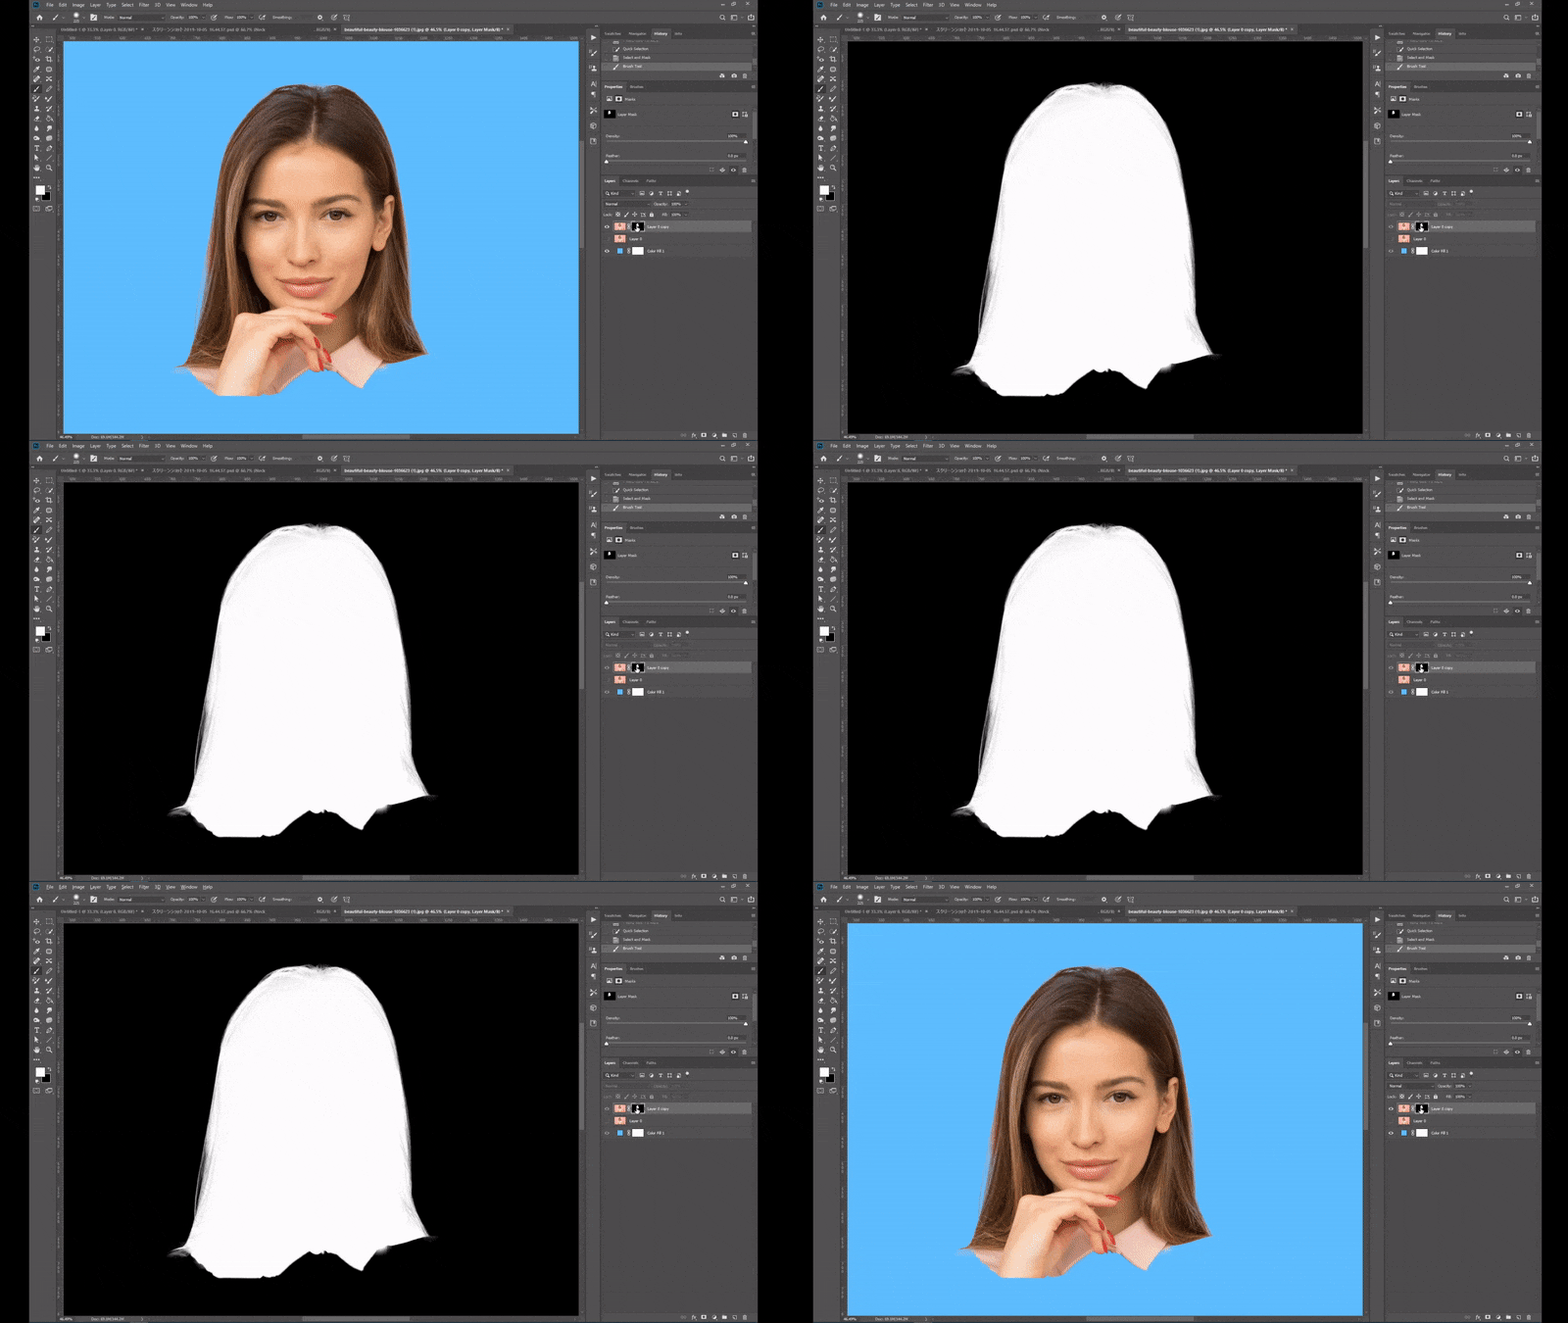
Mask View; [Alt] + Click Layer Mask

After choosing the ‘Layer Mask’, you can check the Mask’s condition. When you use the same shortcut again, you can go back to the original view.

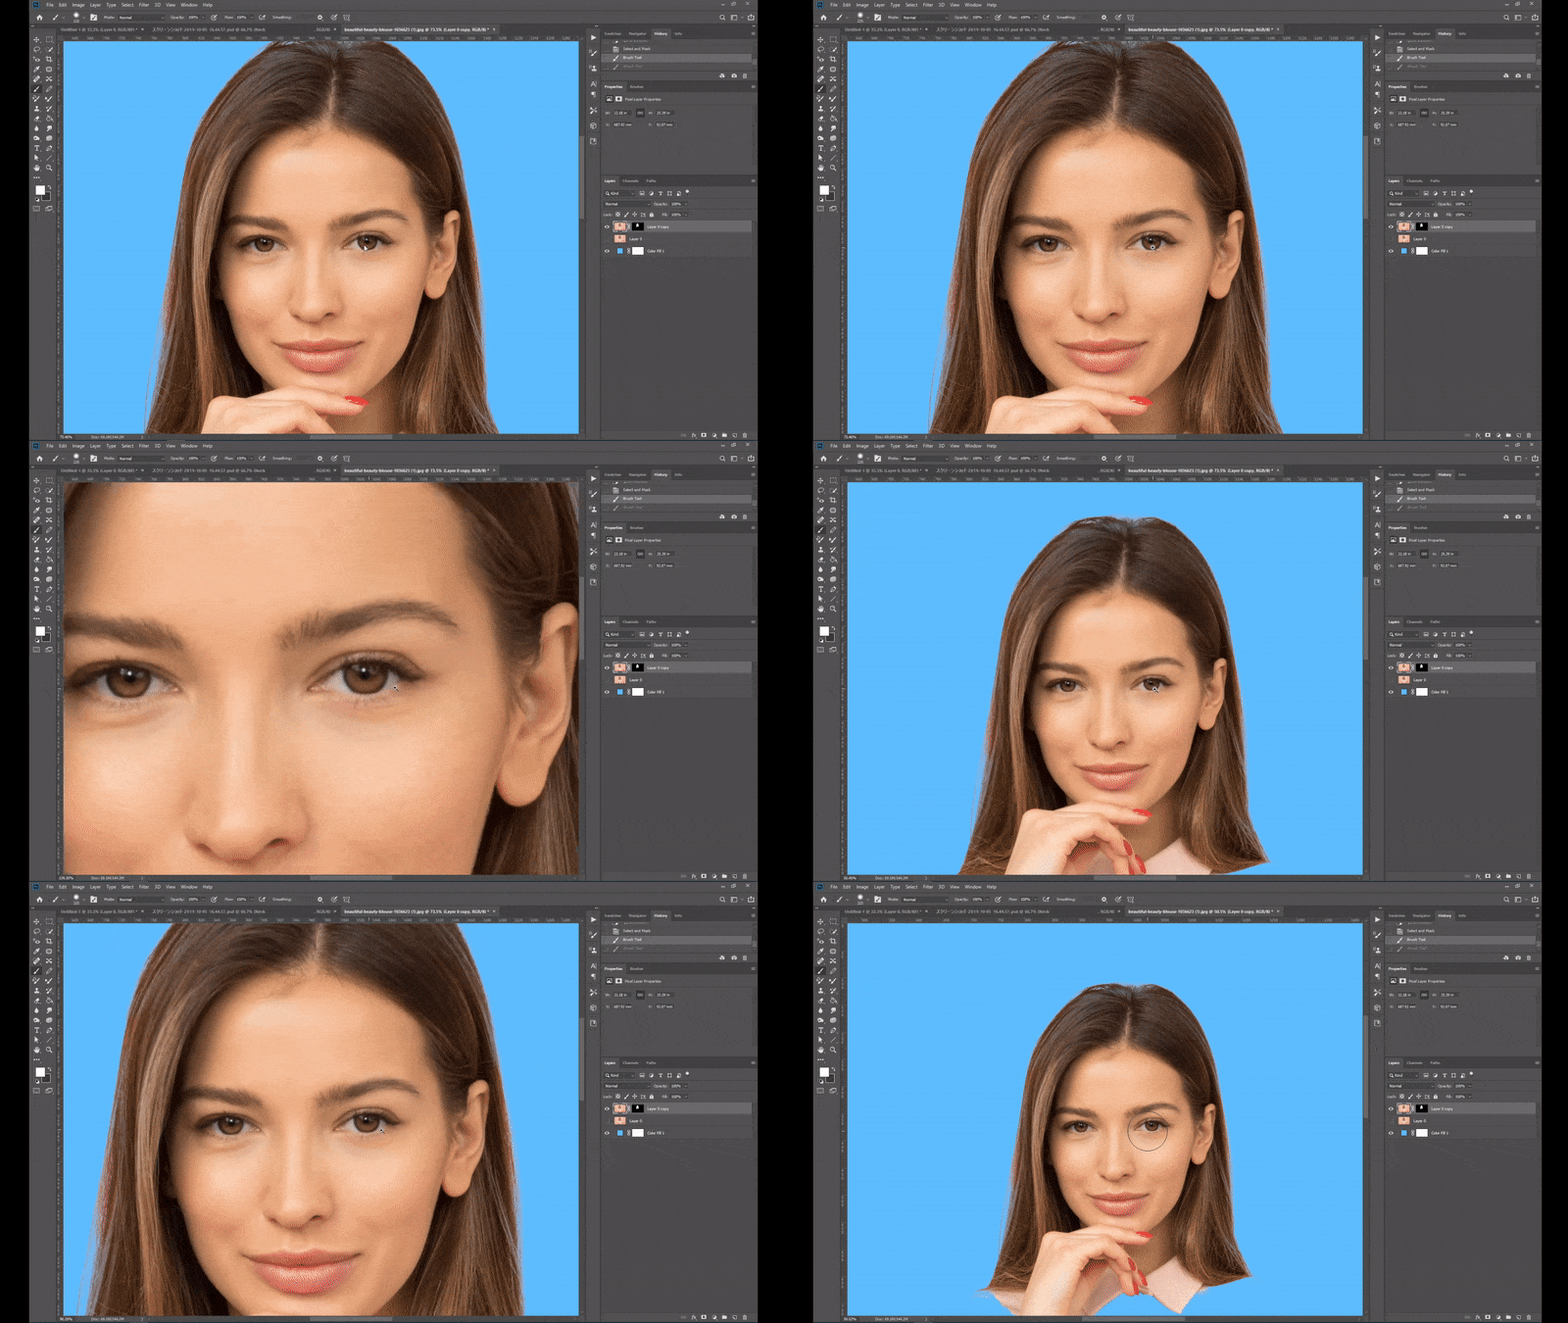
Drag-Zoom; [Ctrl] + [Space] + Drag

You can zoom-in and zoom-out by this shortcut.

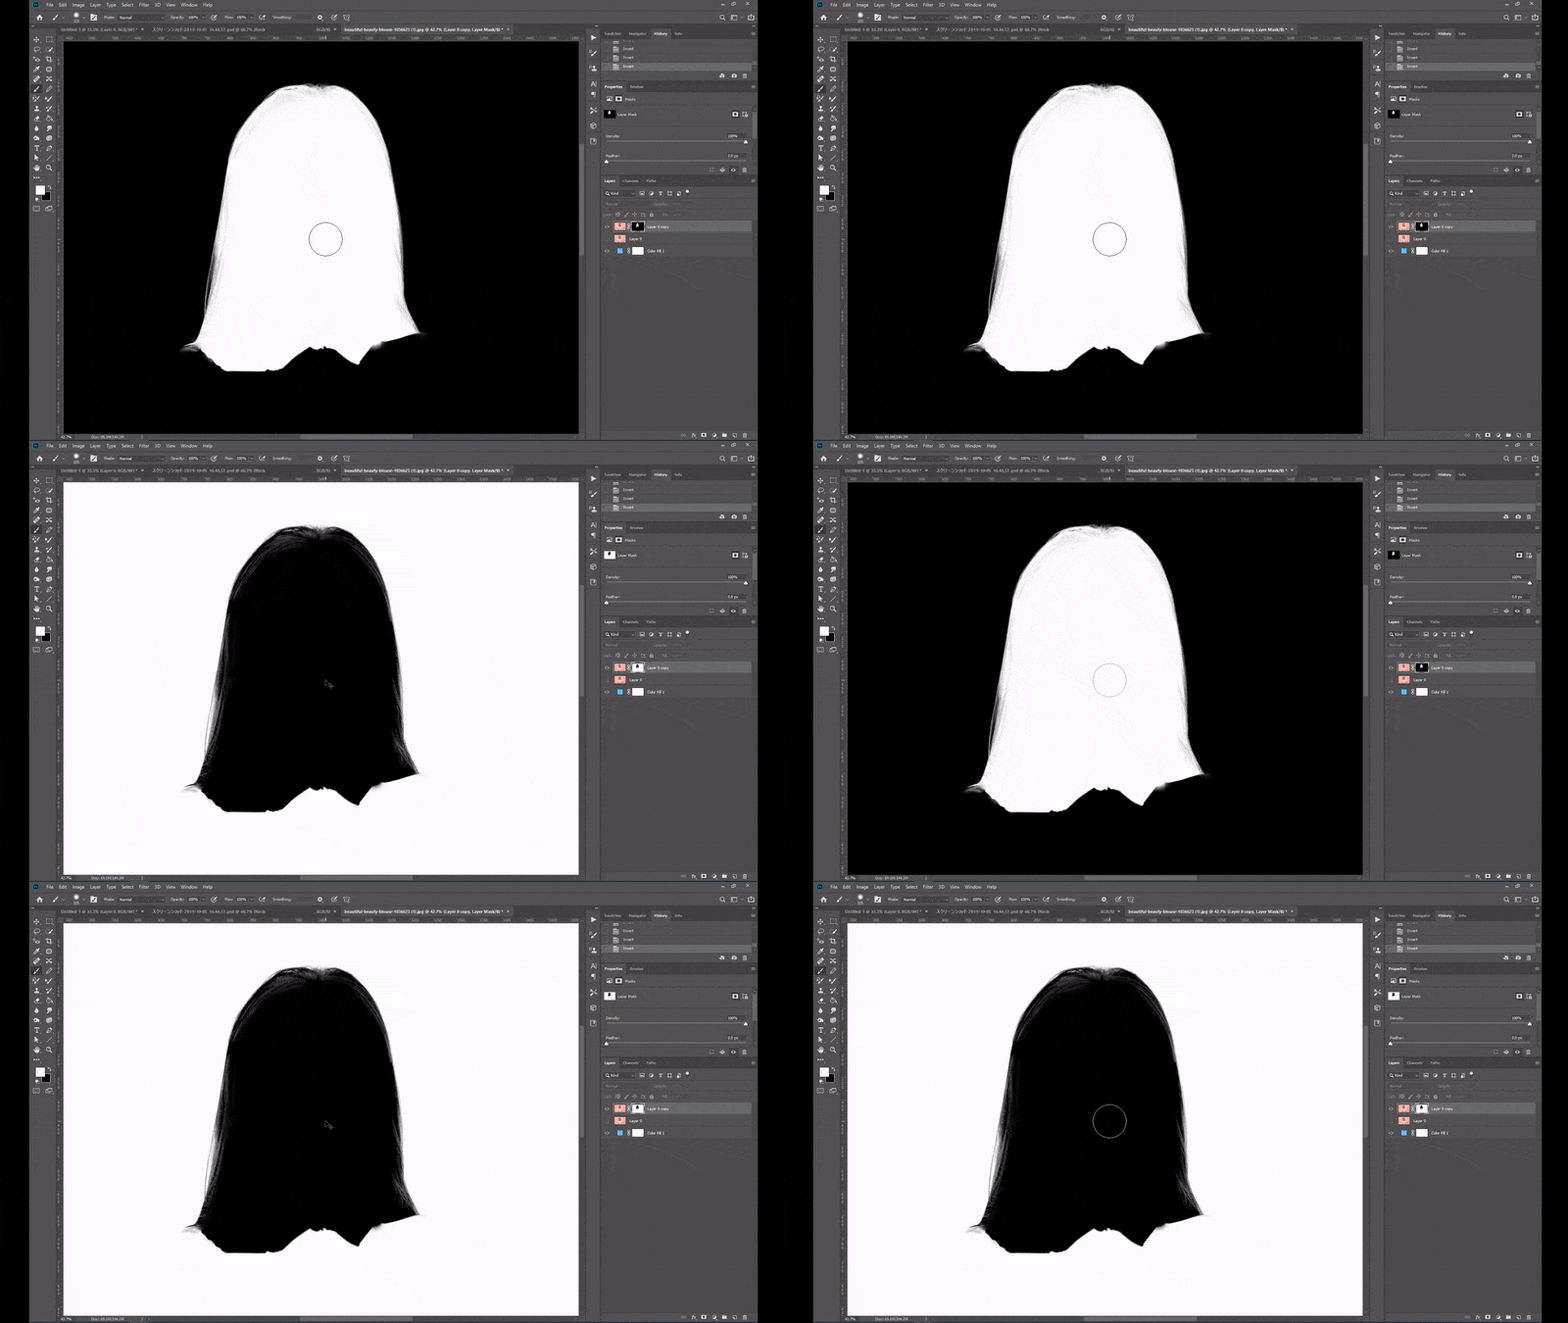
Invert Colors of Selected Layer; [Ctrl] + [ I ]

This shortcut is useful especially when you want to inverse the layer mask.

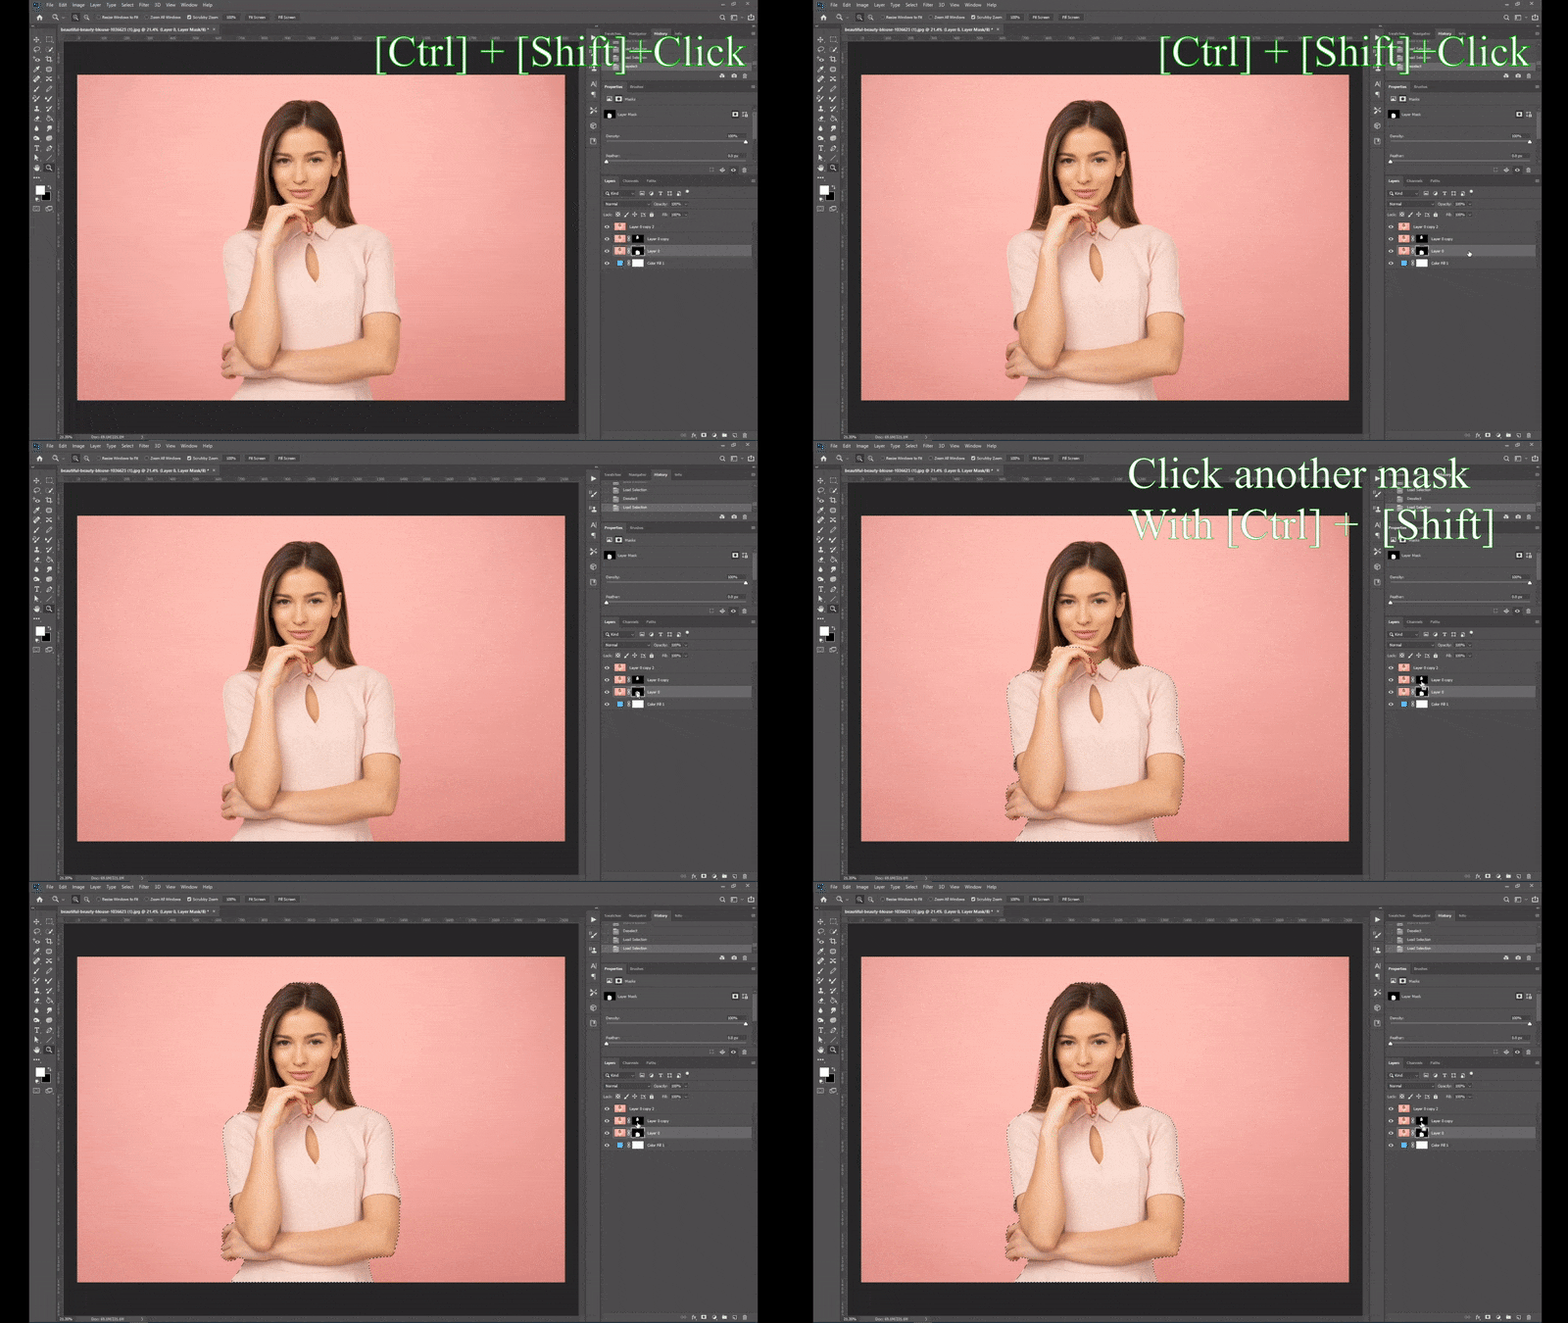
Merge Selections;[Ctrl]  + [Shift]+ Click Layer Mask

Sometimes we need to merge 2 or 3 selections to a selection. If so, choose the mask and use this shortcut. Arrow becomes ‘+’mark and click (not drag, just click) another mask with push [Ctrl]  + [Shift].  You can see that 2 selections are merged.

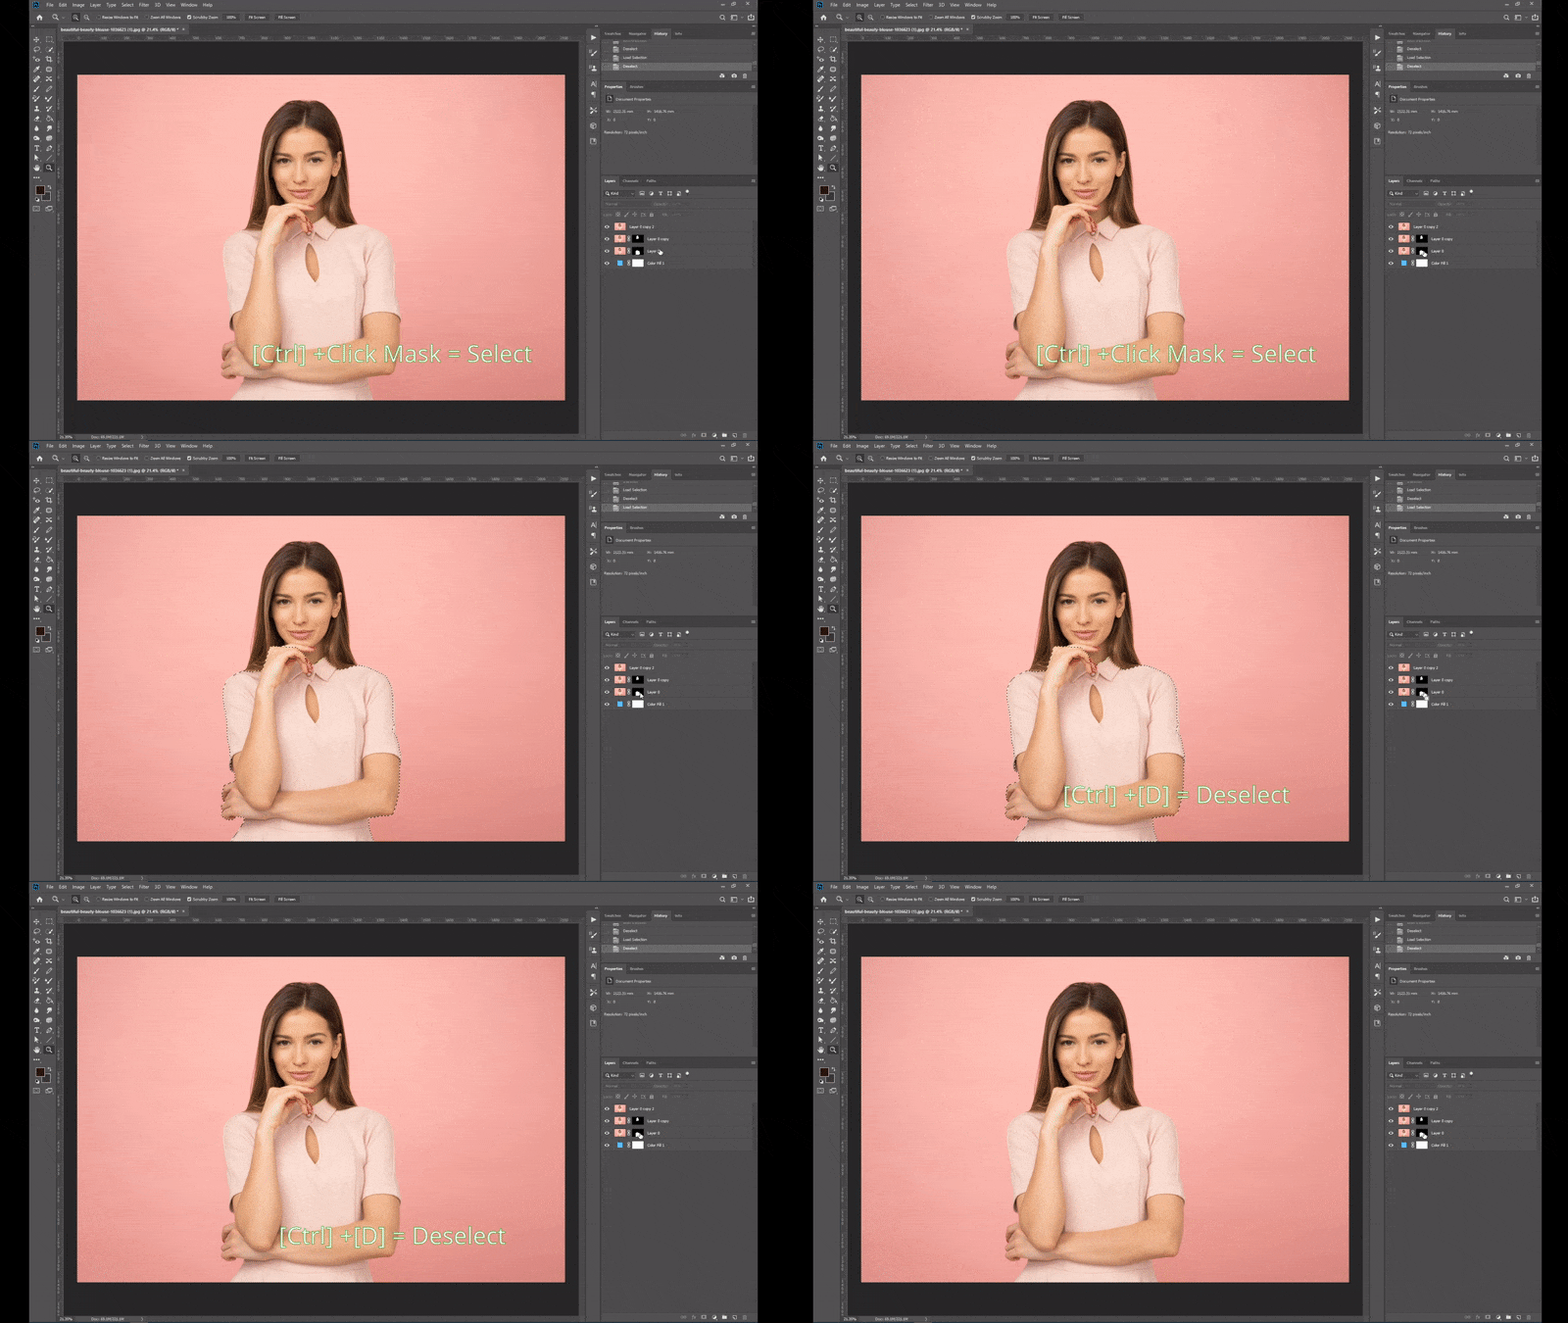
Select;[Ctrl]+Click Mask  / Deselect;[Ctrl]  + [D]

Very easy and you will use this shortcut often .

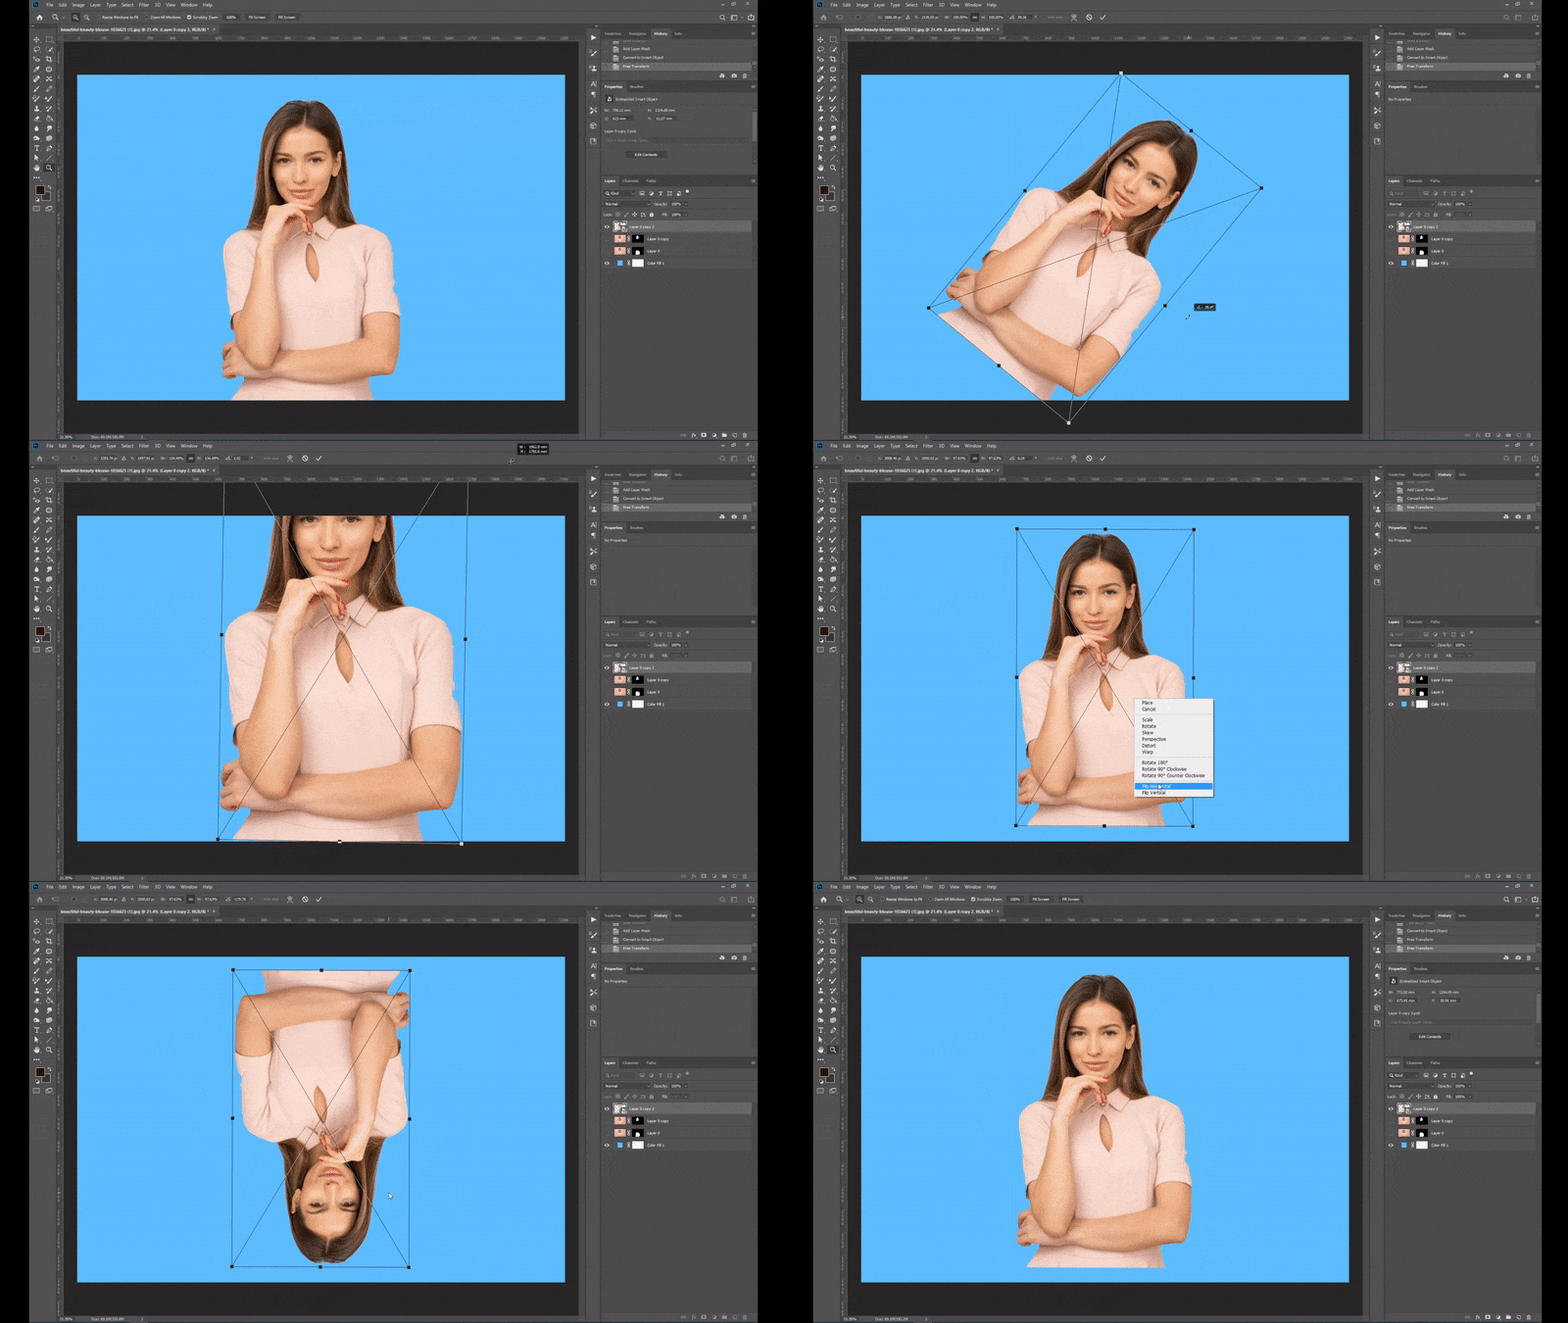
Transform; [Ctrl]+[T]

You will also use this shortcut often when you want to change the size and the angle.  

Clone Stamp Tool

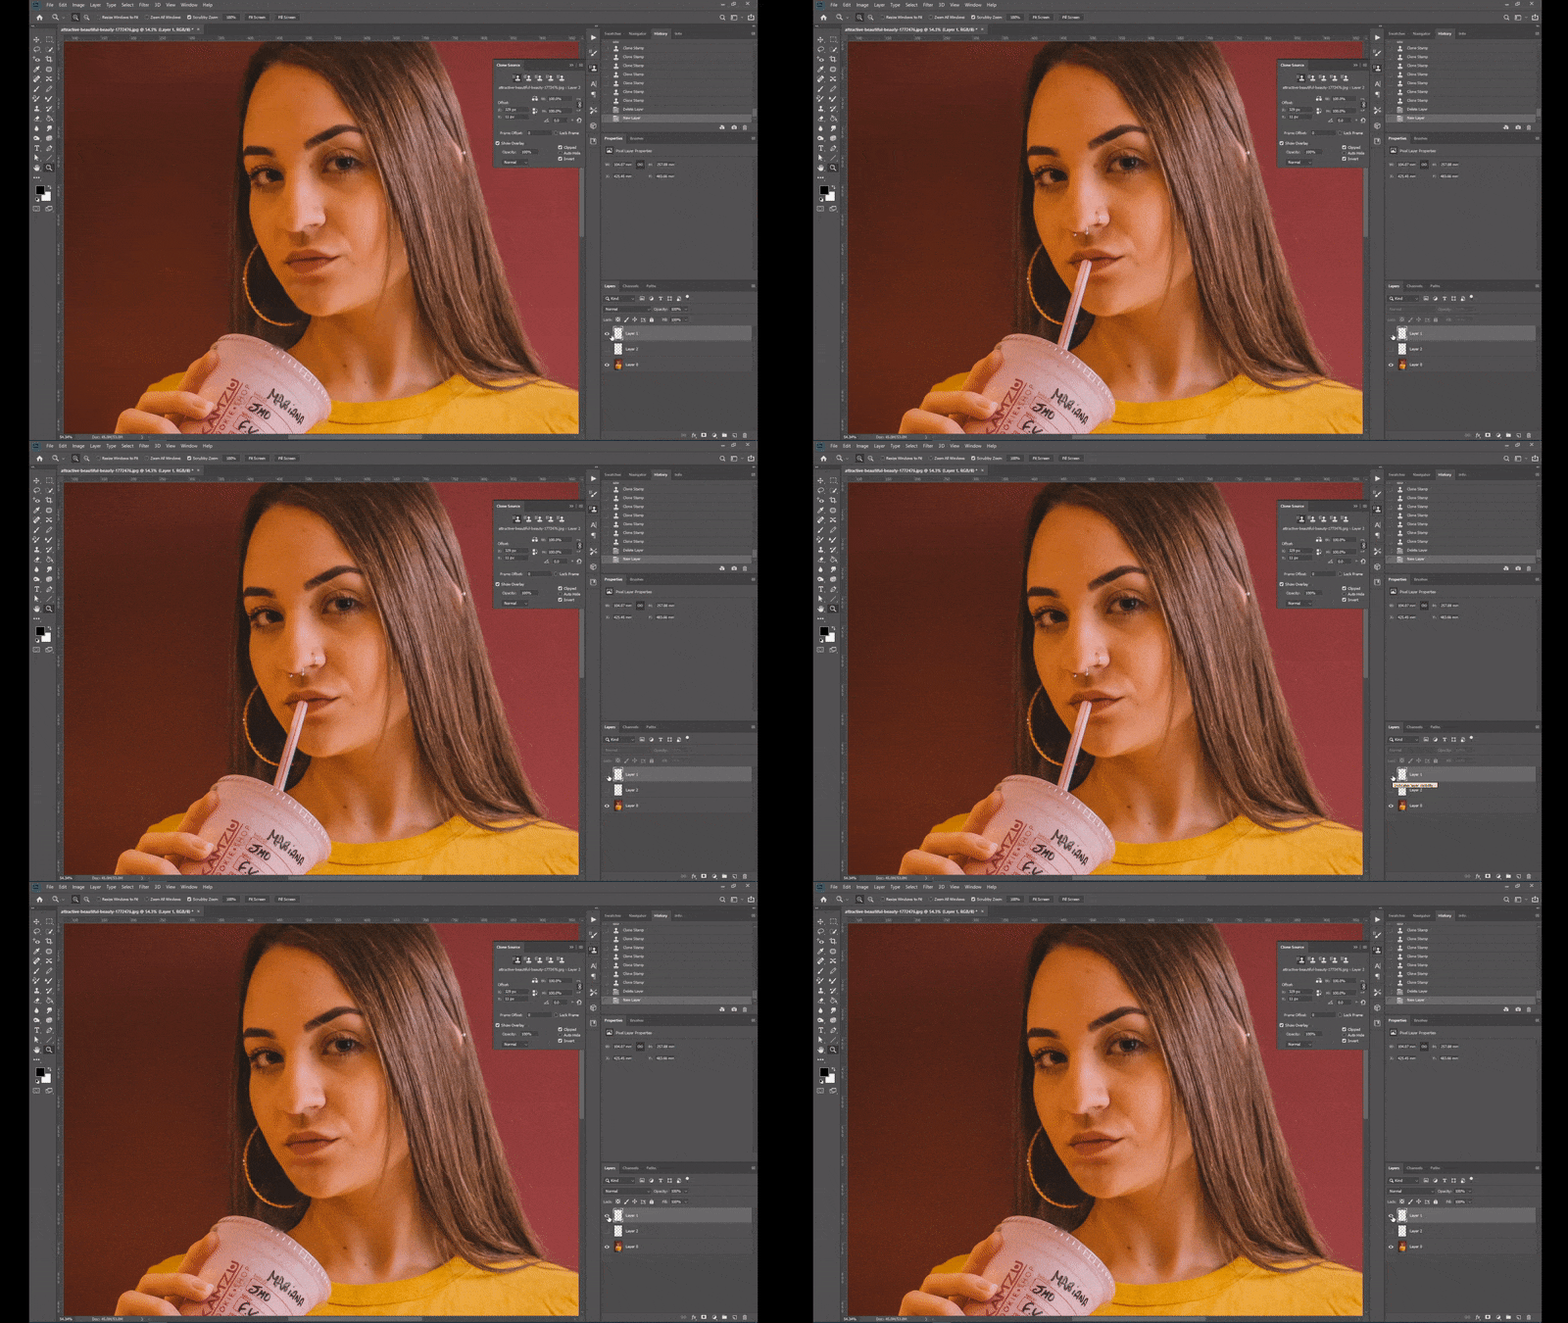
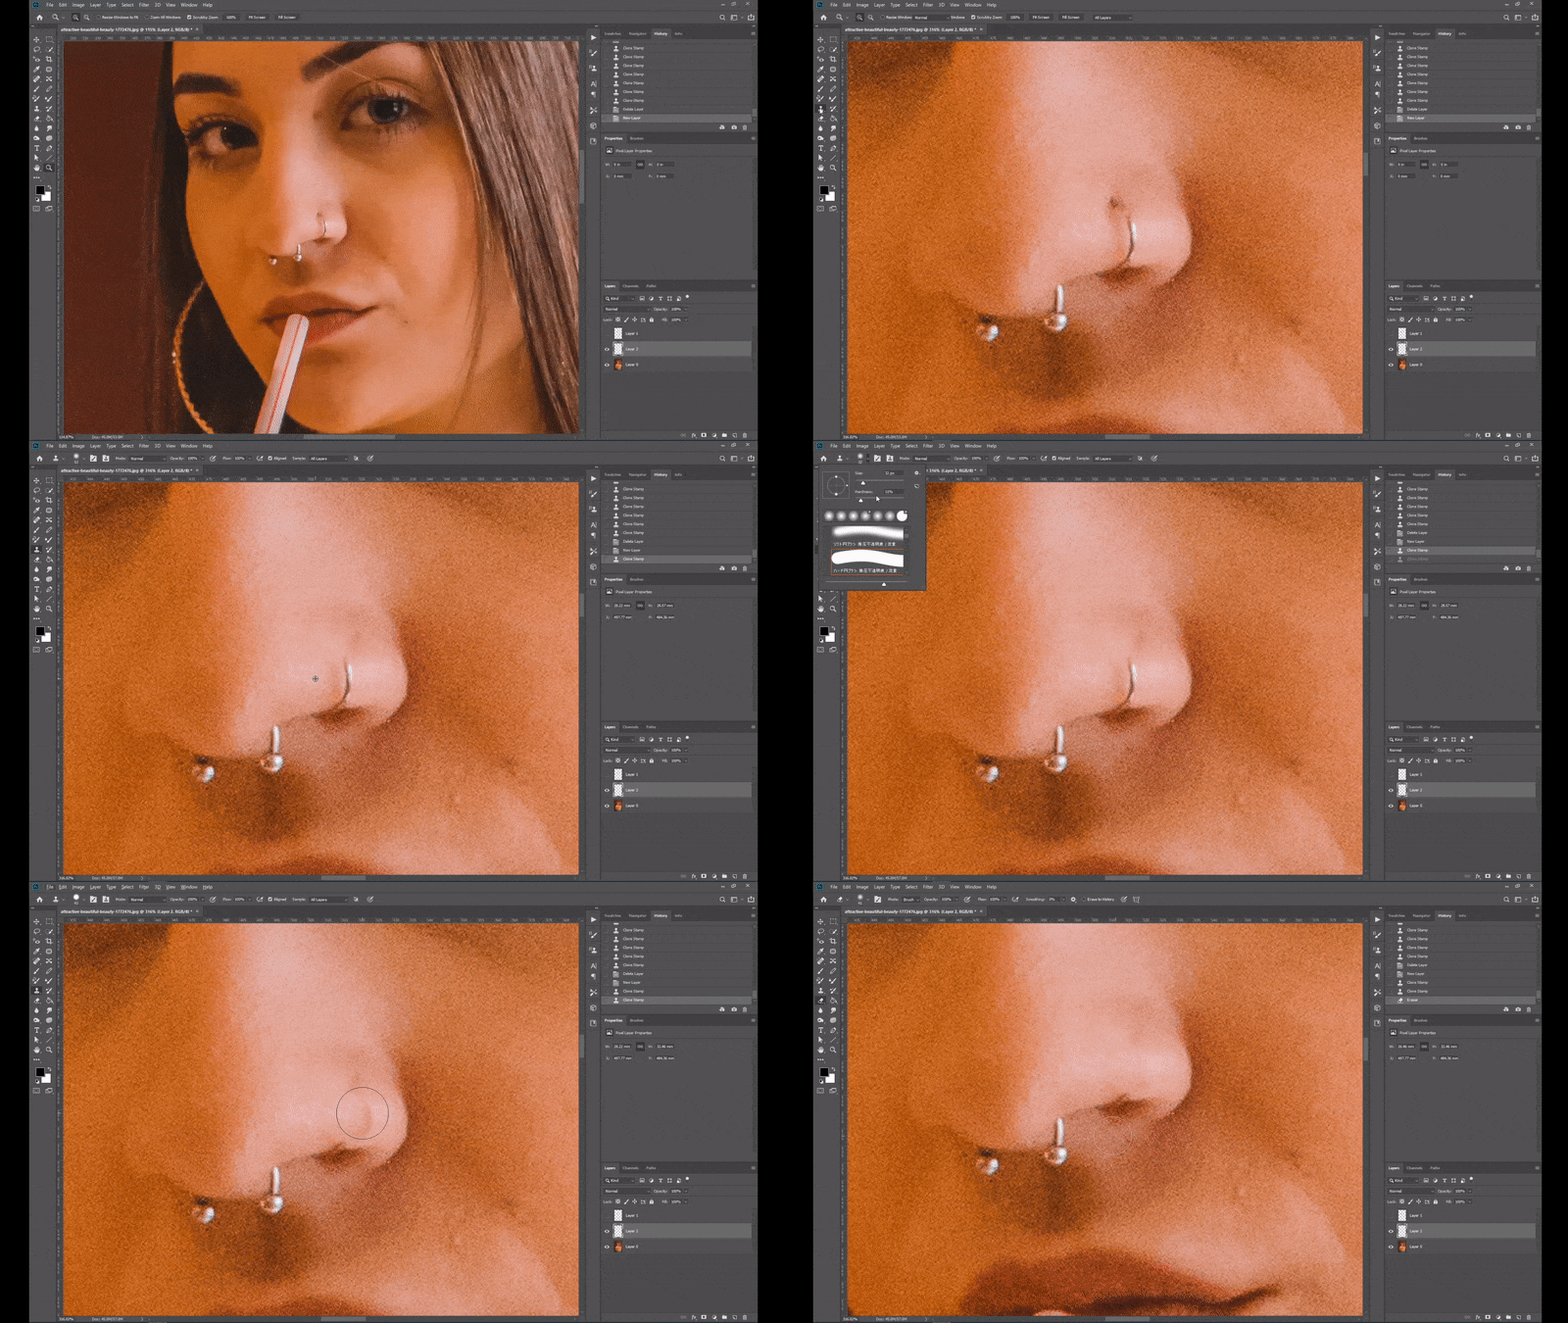
‘Clone Stamp’ is very useful. You can delete something that is not supposed to be shown or you can add something that is missing .

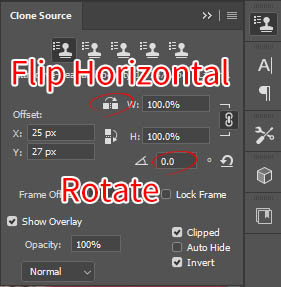
If you use ‘Clone Stamp’, you had better prepare to use ‘Clone Source Panel’.  It is contained in ‘Window’.

When you use ‘Clone Stamp tool’, create a new layer and use stamp on this layer. Do NOT use this on the original layer. If you use stamp on the original layer, you can not go back to the image before adding stamp.

Tip of color adjustment

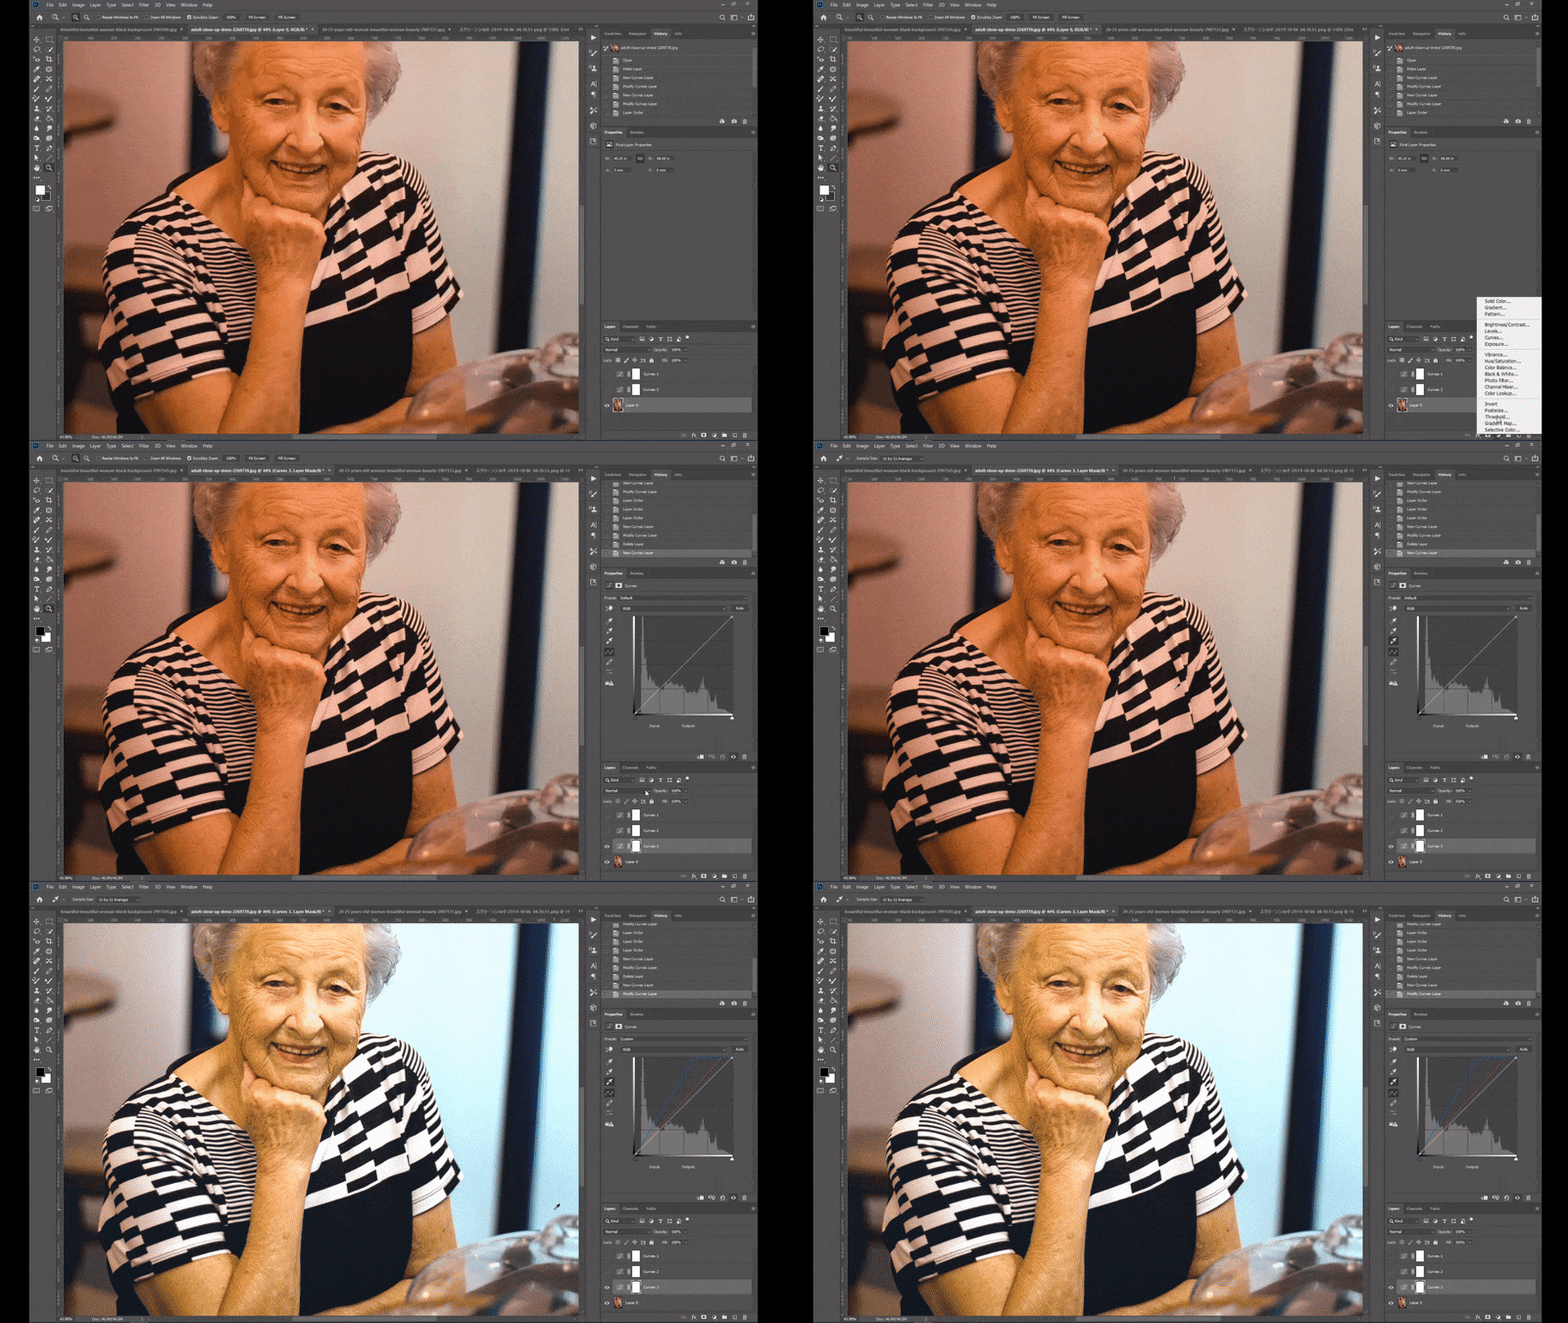
There are some pictures which color are biased. 

For example, the image is too red.

In such case, we can use ‘Curves’. ‘Curves’ is often used as adding brightness, but ‘Curves’ is also used in another unique way.

Add ‘Curves’ on the image at first.

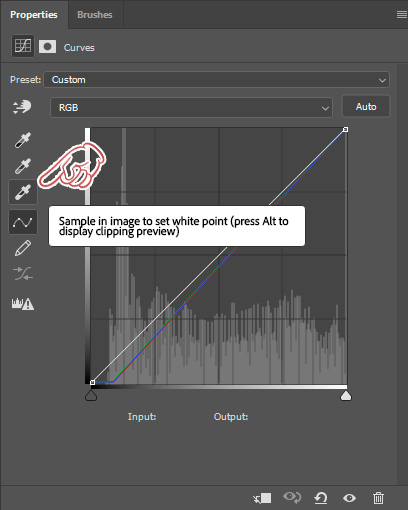
Click the icon which shows ‘Sample in image to set white point’. And Click the point which should be white  in the image. By this action the point which should be white becomes white.

Not only the white point, there are also the black point and the grey point.

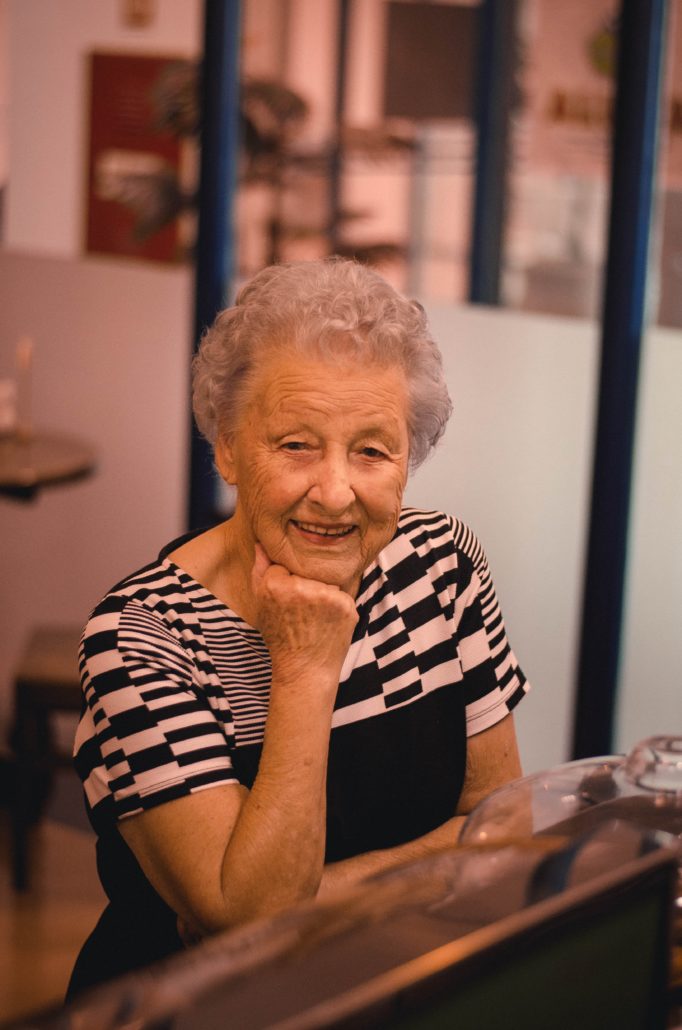
The old woman in the image wears the clothes of Black and White. So I can use the Black point in this image too. 

Black becomes more Black.

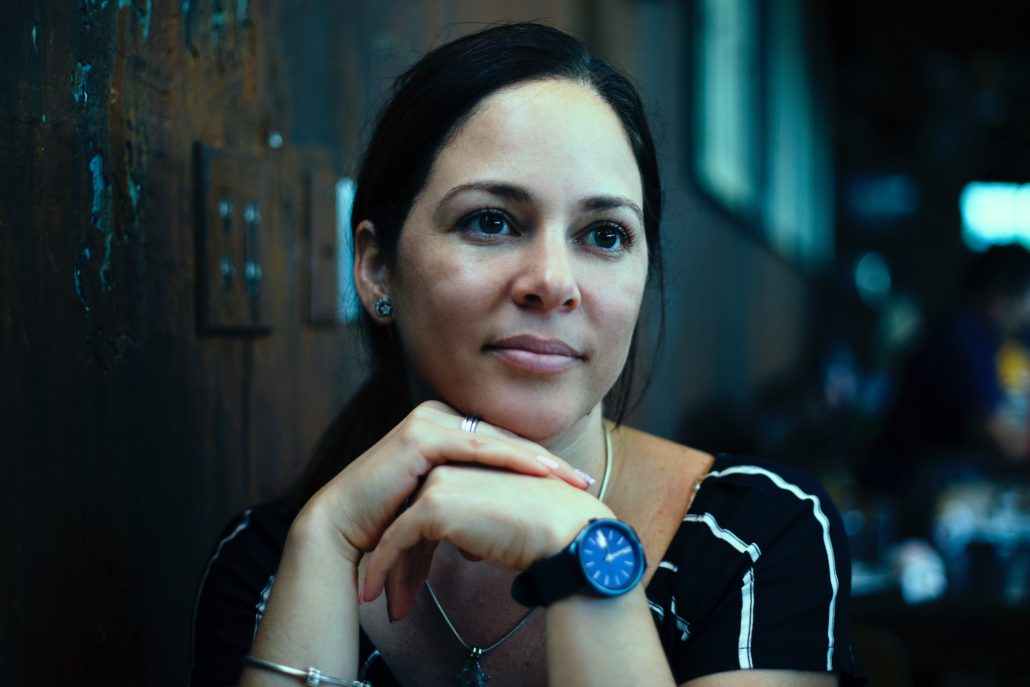
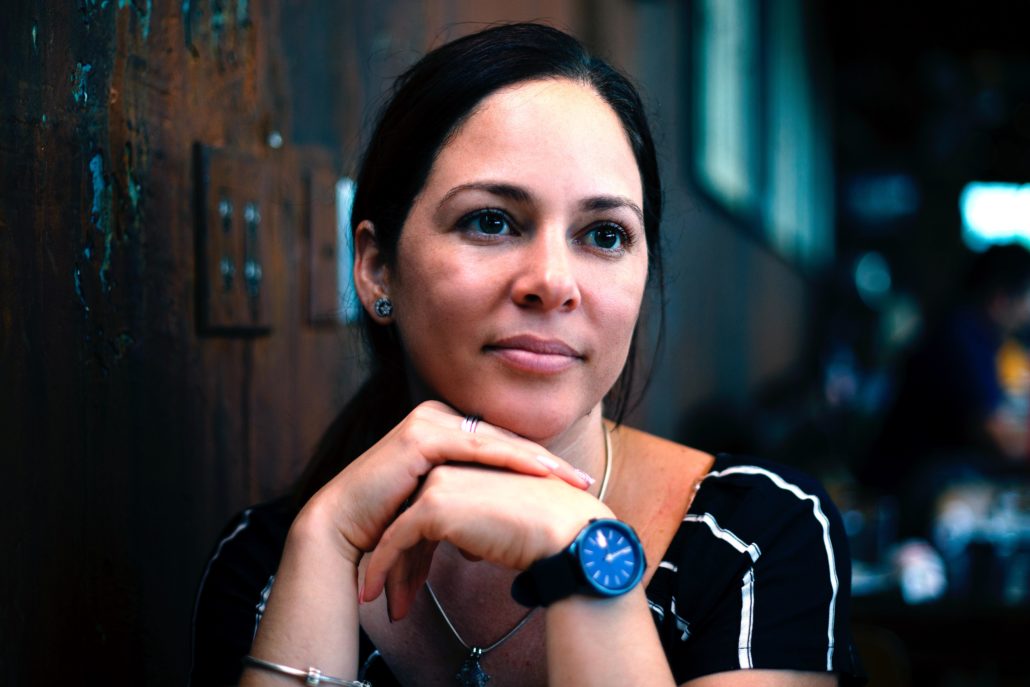
Next image is also biased to blue. After adding ‘Curves’, I get more natural color image. I use her hair for the black point and for her clothes white line as the white point.