Swap a head to another body

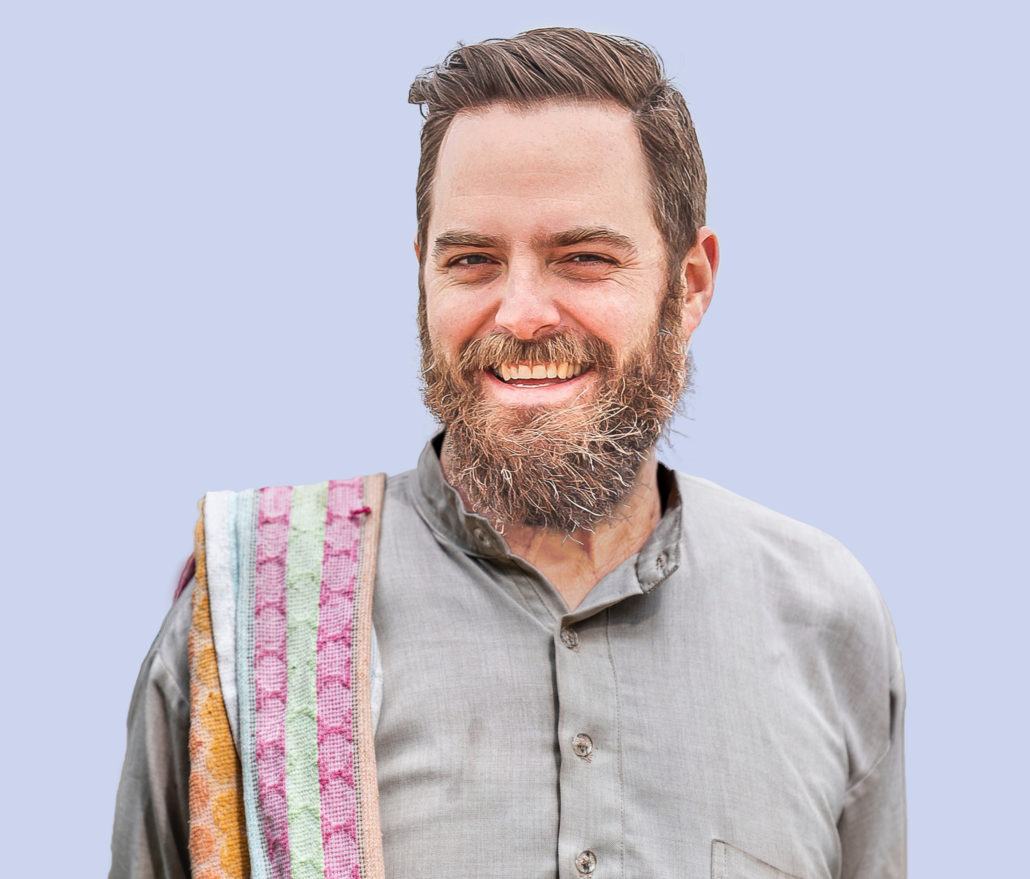
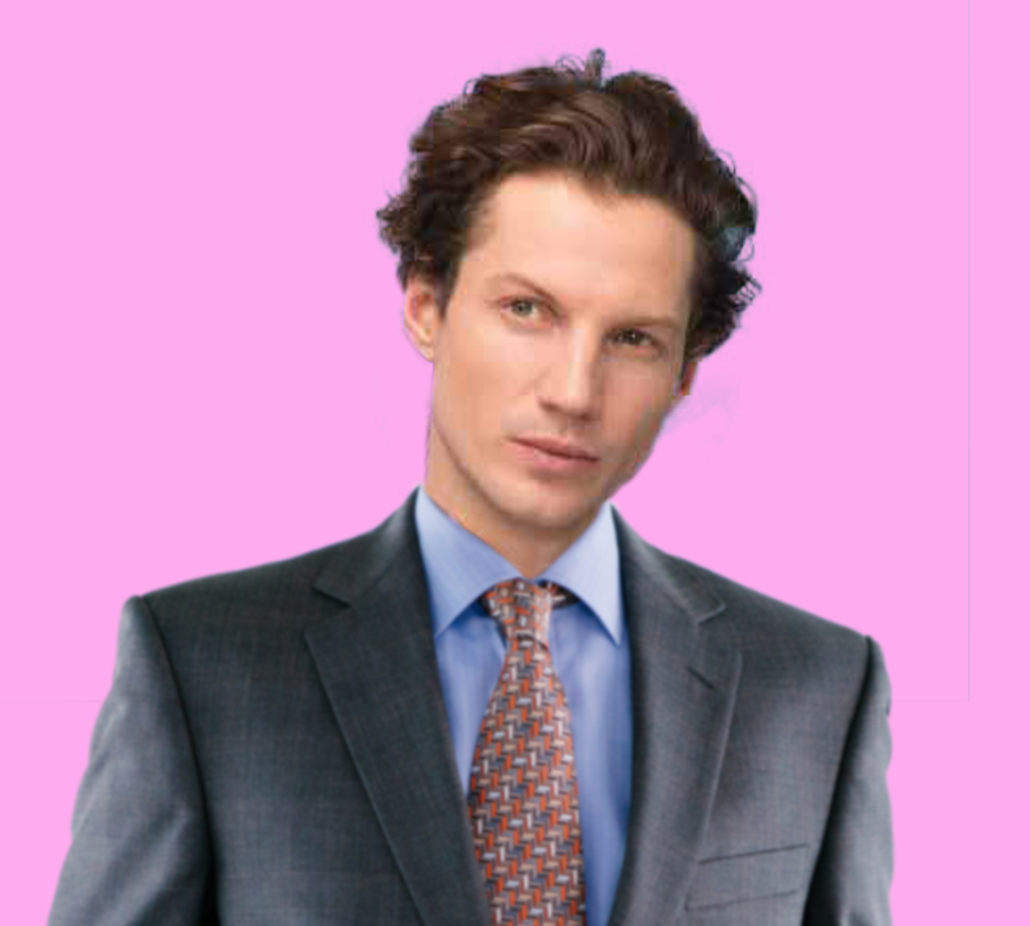
In this page, I try to combine 2 images into one. A young man’s head with an old man’s body.

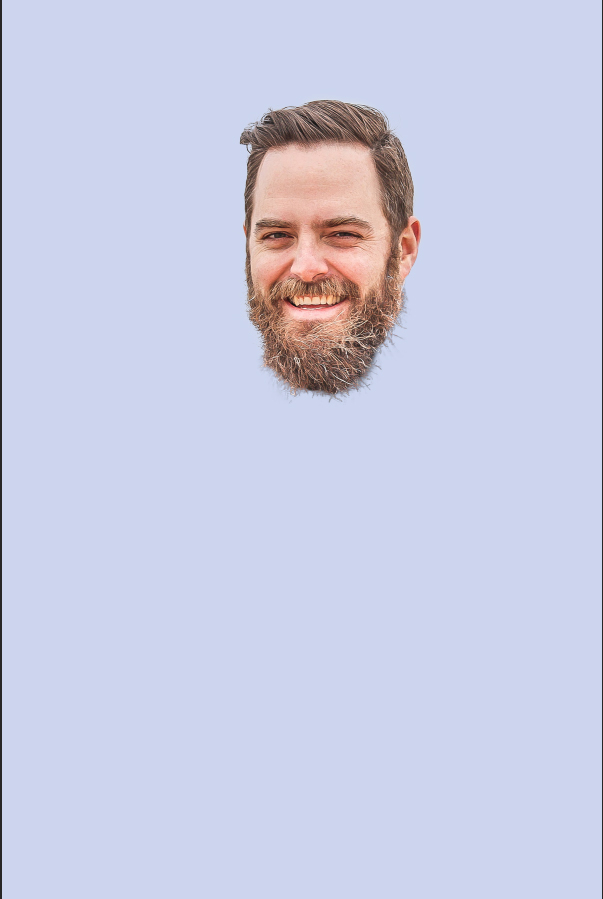
First, I need to make a head part and a body part.

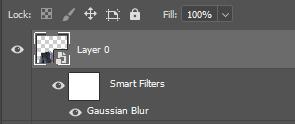
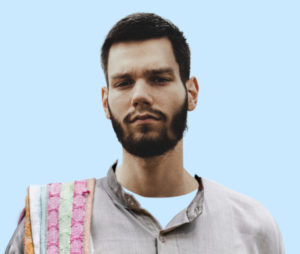
I make a head part at first. Use ‘Pen tool’ for his face shape and use ‘Quick Selection tool’ for his head (check this page). Don’t forget to addFeather’ to the selection of his face.

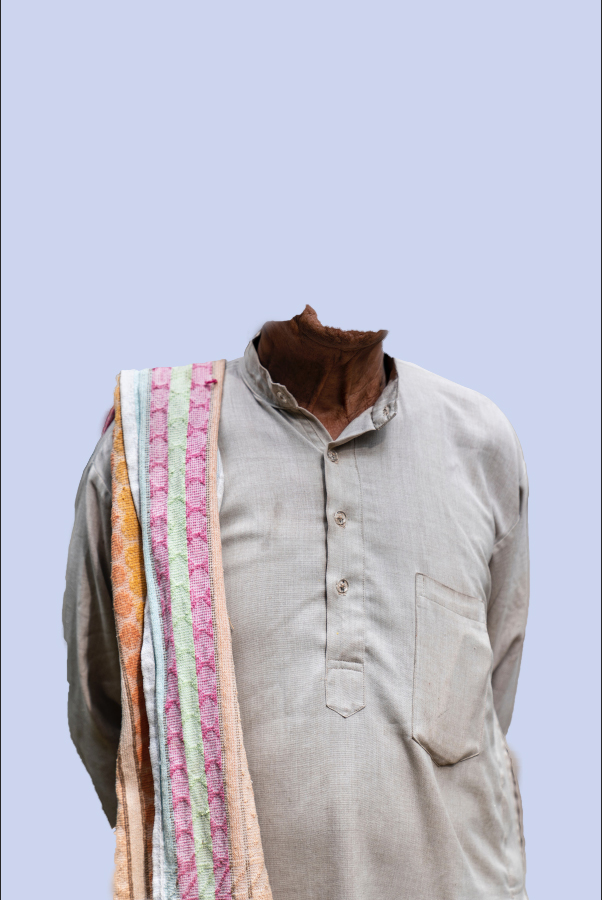
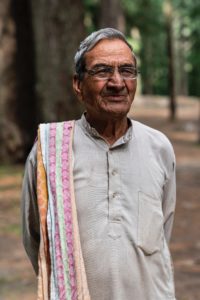
Second, make a body part from the old man’s image, like the above.

Leave his neck (Do not erase) by just hiding his neck by layer mask because his neck may be useful when you combine with other people’s head.

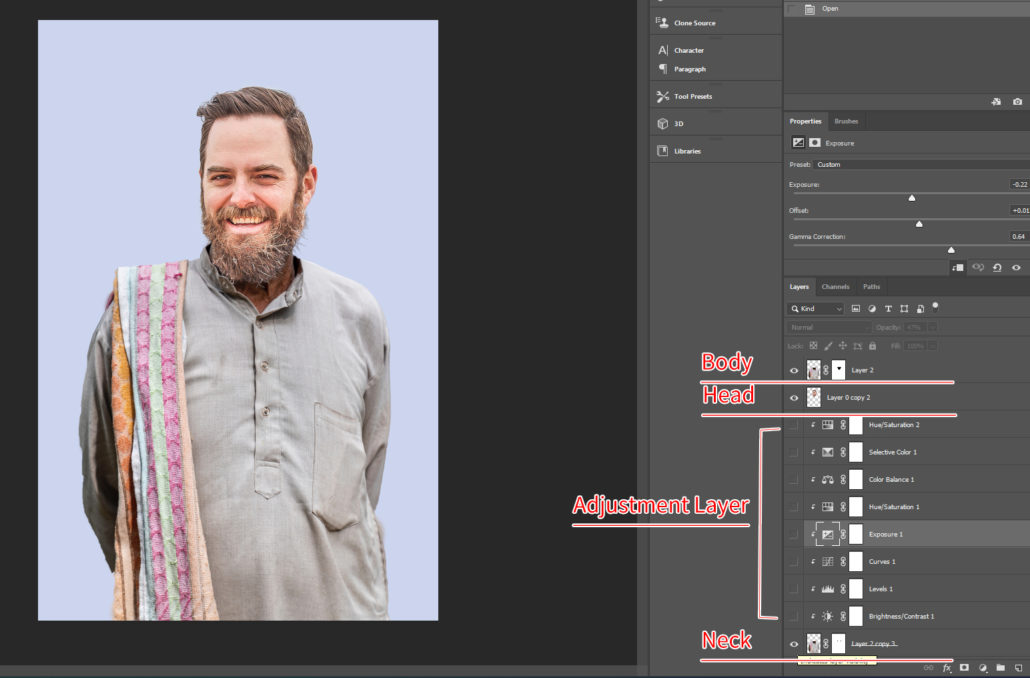
Next, let’s combine two parts into one. The order of layers is very important. In this case, the body’s layer must be above the head’s layer.

If you put these layers in the correct order, you will see like this image below. 

Compare this image with the original his body to avoid to have either too big head or too small head. People are very sensitive to the balance of body.

Now I need more part of his neck as there is a gap between the head and the body.  In this case, I use ‘Clone Stamp tool’.

To use ‘Clone Stamp tool’, add a new layer between the body layer and the head layer.

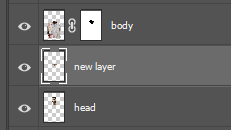
Then use ‘Clone Stamp tool’ on the new layer to cover the gap between the body and the head.

Next, use ‘Liquify’ in ‘Filter’ to change the shape of collar.

Next page, I tell you the different skill to combine.

Swap a head to another body 2

Let’s  combine these two images.

The difference between this task and   the previous sample is that the young man’s image doesn’t show his neck. So I must use the old man’s neck instead. But 2 models have different skin color, so I need to add several ‘Adjustment layers’.

At first, make each parts;Body, Neck, Head. Body layer is made from Neck layer.

Next, place these layers in the correct order.

The important thing is the order of the layers.
Body > Head > Neck layer.

If you place these layers correctly, you will see like this.

Of course, the problem here is the color of the neck.  So add ‘Adjustment layers’ above Neck Layer.

In thie case, I used several adjustment layers like ‘Selective Color’, ‘Hue/Saturation’,’Color Balance’, ‘Exposure’,’Curves’,and ‘ Levels’.

Combine with low-resolution image

Usually old images and photos are low in resolution. If you must combine a low-resolution photo with a high-resolution photo, what points do you have to cover?

Imagine to combine 2 images. The picture of a younger man who wears a navy suit is low-resolution and the picture of an older man who wears a gray suit is high-resolution.

Look at this combined picture. 

There is a problem; the difference of clearness of the head and the body. The resolution of head is rather lower than that of the body. One way to resolve this problem is decreasing the quality of the body intentionally.

Add ‘Gaussian Blur’ on the body. 

  1. Choose the body’s layer
  2. Go to ‘Filter’
  3. Choose ‘Convert for Smart Filters’.   By this, if you  must change the setting later, you can change the setting without making the change to the original layer.
  4. Choose ‘Blur and Gaussian Blur’.